


Alright, someone asked me to write all this down. People want to make their own stuff for the bathroom, I get it. It’s cheaper sometimes, and you can make it fit that weird little corner by the sink. Better than that particleboard junk from the big box stores that swells up if you even look at it wrong.
I’ve been doing this since ’98. I’ve seen all the cute ideas that turn into a moldy, warped mess in six months.
A bathroom is the enemy. It’s a warzone of steam and water. Everything in there wants to rot, rust, or just fall apart. So if you’re going to build something for it, you have to do it right. Otherwise, honestly, don’t even bother DIY bathroom accessories.
Custom Vanity Organizers and Countertop Decor
The countertop. It’s always a disaster, covered in bottles and tubes and whatever else. Making your own organizers is a decent weekend project, I suppose. You don’t need a huge workshop for it.
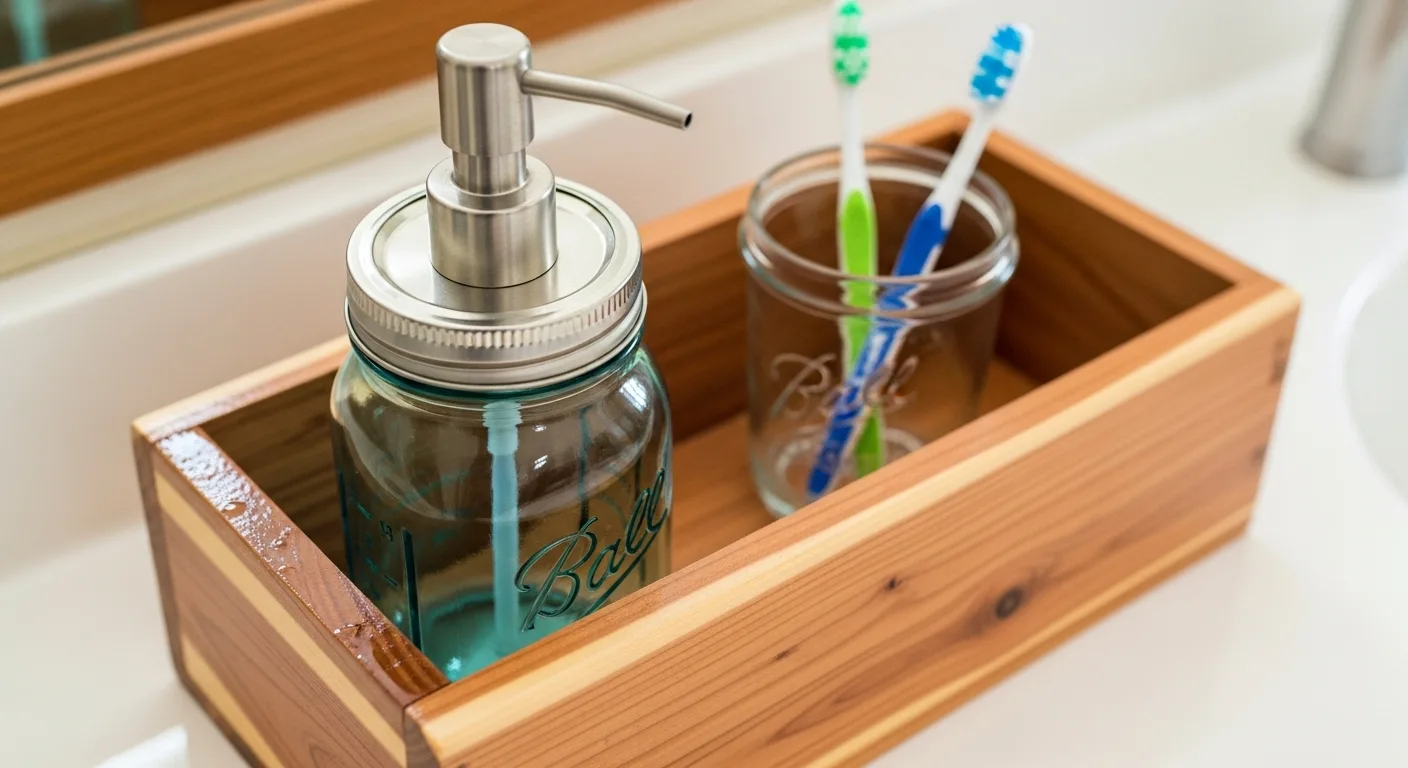
People love those Mason jars. Gives it that farmhouse look. If you’re going to turn one into a soap dispenser, do yourself a favor and buy a real stainless steel pump for it. Not the cheap plastic ones painted to look like metal. They turn green and flake apart in a few months from the soap. I see it all the time.
For toothbrushes, a heavy mug or a glass jar is fine. Simple. If you feel like getting fancy and drilling holes in the lid to keep them separated, you need a special drill bit—a diamond-tipped one. Go slow, and keep a little water on it so the glass doesn’t crack. And wear safety glasses. Seriously. A shard of glass in your eye is a really bad way to end a project.
As for little trays or boxes, I usually just build them out of scrap wood I have lying around. A piece of cedar is good. The absolute, most important part is sealing it. Don’t just slap a coat of paint on it and call it a day. You need three coats. Three. Of a marine-grade polyurethane, like a Spar Urethane. On all sides. And the bottom. Everyone forgets the bottom. Then it sits in a puddle once and the whole thing is ruined.
Handmade Bathroom Trays, Baskets, and Accessories
A tray corrals all the clutter. Makes a messy counter look… intentionally messy. Building one yourself means you can make it the exact size you need.
Use a wood that can handle getting wet. Teak, cedar, acacia. Something like that. If all you’ve got is a piece of pine from the hardware store, well, then that sealing process I just talked about is everything. You miss one spot and it’s done for. A little trick is to add small cabinet pulls on the sides for handles. The little black or brass ones. Makes it look like you bought it. These handmade items are perfect for creating a space with plenty of rustic bathroom accessories.
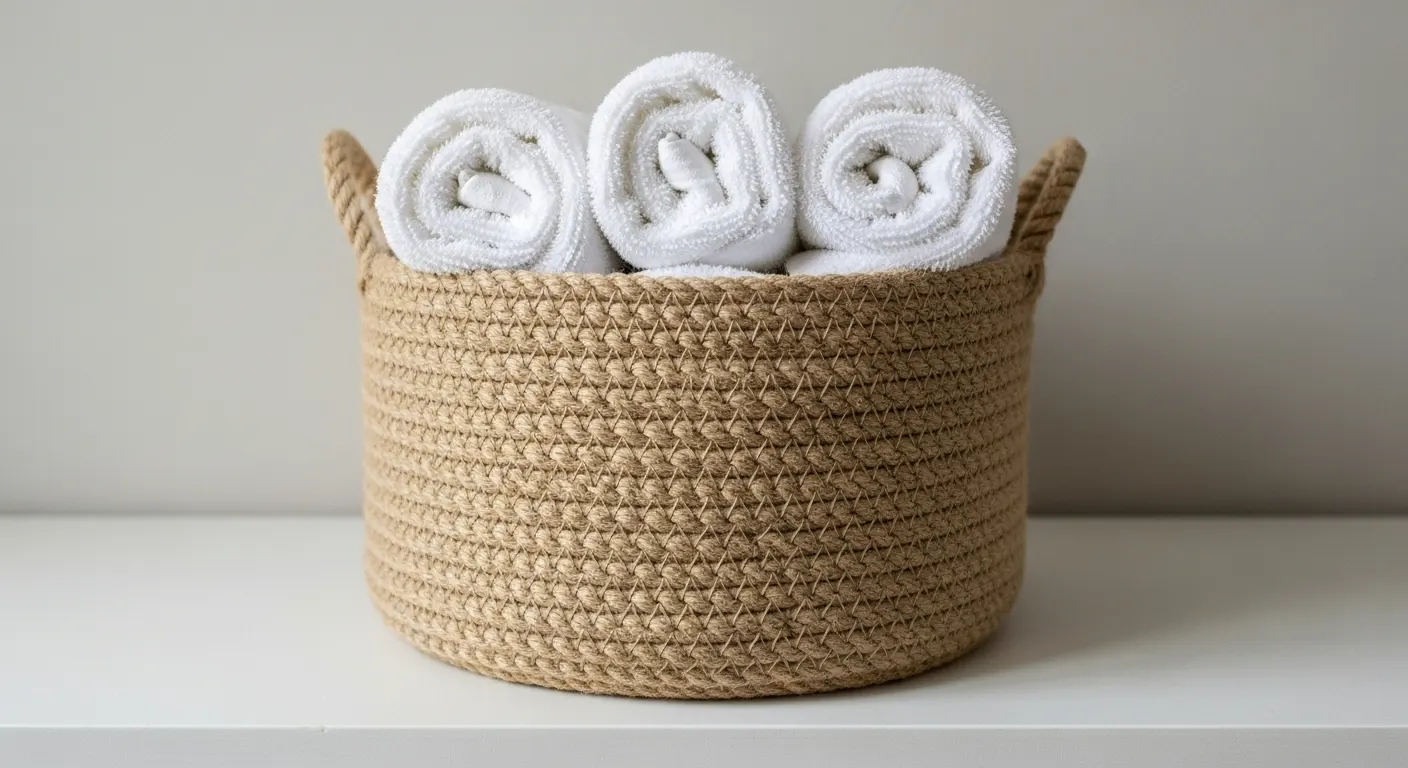
Then there’s the rope basket thing. My wife, Jenny, made one for the guest bath. You just get some thick rope, jute works, and a hot glue gun. Start coiling it flat for the base, then just build up the sides. It works. Holds a few rolls of toilet paper.
If you want that industrial look, you can make a concrete tray. Just get a bag of concrete mix and use some old plastic food container as a mold. The main thing is to get the mix right—like thick pancake batter—and then you have to tap the mold on the counter a bunch of times to get all the air bubbles out. Let it sit for a couple of days. Days. Don’t get impatient. And yes, you have to seal it, too, or every drop of water will leave a dark spot.
To make it easier to decide, here’s how these different tray and basket ideas stack up.
| Project Type | What You Need | Difficulty Level | My Two Cents |
|---|---|---|---|
| Sealed Wood Tray | Hardwood, sealer, sandpaper, handles | Medium | Looks the most professional, but the sealing part is critical. Don’t skip steps. |
| Rope Basket | Thick rope, hot glue gun | Easy | Easiest project here. Great for a beginner. Not great for holding wet items. |
| Concrete Tray | Concrete mix, mold, sealant | Medium to Hard | Can look very cool and modern, but it’s messy and you have to be patient. |
My Take: Honestly, for a first project, the rope basket is a great way to get a quick win. If you’ve got some woodworking skill, a nice teak or cedar tray will last forever if you seal it right. The concrete is a bit of a science experiment, but the results can be impressive.
Smart DIY Bathroom Accessories for Wall Storage
You gotta get stuff off the counter. It’s the only way to make a small bathroom feel like you can breathe. Shelves and hooks are the way to go.
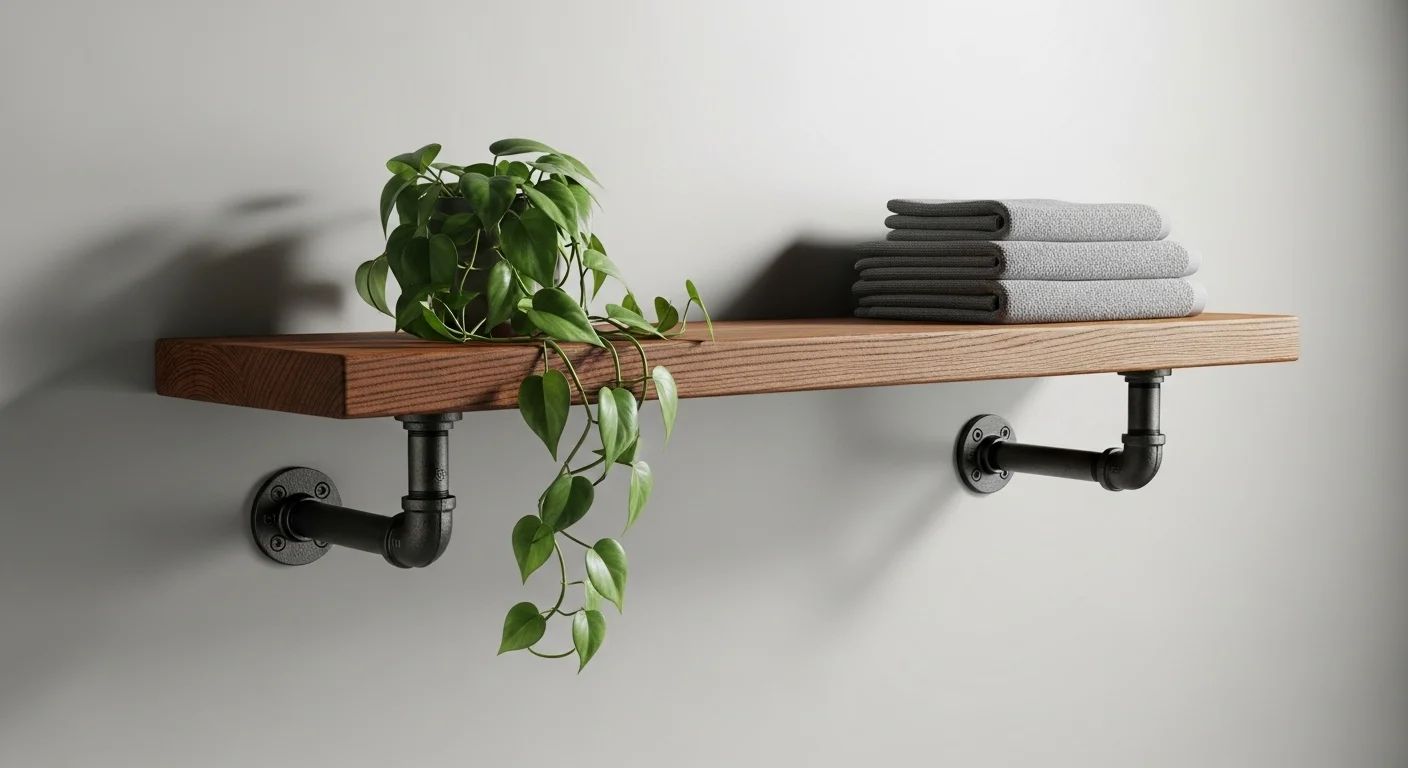
I like making those shelves out of black iron pipe. You just buy the pieces at the hardware store, they’re already threaded. Screw ’em together, put a solid piece of wood on top. Done. But listen. They’re heavy. You absolutely must screw them into studs in the wall. Get a cheap electronic stud finder. If there’s no stud where you want it, you need heavy-duty toggle bolts. Don’t even try to use those little plastic drywall anchors. You’ll just be waiting for the crash in the middle of the night.
For a different look, you can do those hanging rope shelves. A board, four holes, some thick rope. The tricky part is getting it to hang perfectly level. It’s more annoying than it looks.
For hooks, you can use anything, really. I had a client, Bob, who used old boat cleats for his towels. Looked pretty good. No matter what you use, ensuring the optimal towel bar height is key for both function and appearance. Another job, we mounted old doorknobs on a piece of barn wood. Whatever you pick, just make sure the metal won’t rust. Stainless steel. Brass. Something coated. A rusty hook will stain your wall and your good towels. It’s a permanent mess.
Let’s put these wall storage options side-by-side so you can see what you’re getting into.
| Storage Option | Best For | Installation Tip | The Big Catch |
|---|---|---|---|
| Iron Pipe Shelves | Heavy items, industrial look | Must anchor into wall studs. | They are heavy. I’m not kidding. The installation has to be perfect. |
| Hanging Rope Shelves | Light decor, small plants | Use a level. Constantly. | A real pain to get them to hang perfectly straight and stay that way. |
| Custom Hooks | Towels, robes | Use a solid backer board | The hooks themselves must be rust-proof or you’ll regret it. |
“Pro-Tip: Pay close attention to that Big Catch column. With wall storage, the weak point is always how it’s attached to the wall. The iron pipe shelves are my favorite for a sturdy, permanent solution, as long as you find the studs.
Upcycled Bathroom Ideas: Giving Old Items New Life
Before you buy a bunch of new materials, look around. Thrift stores, your own garage. Sometimes you find something perfect.
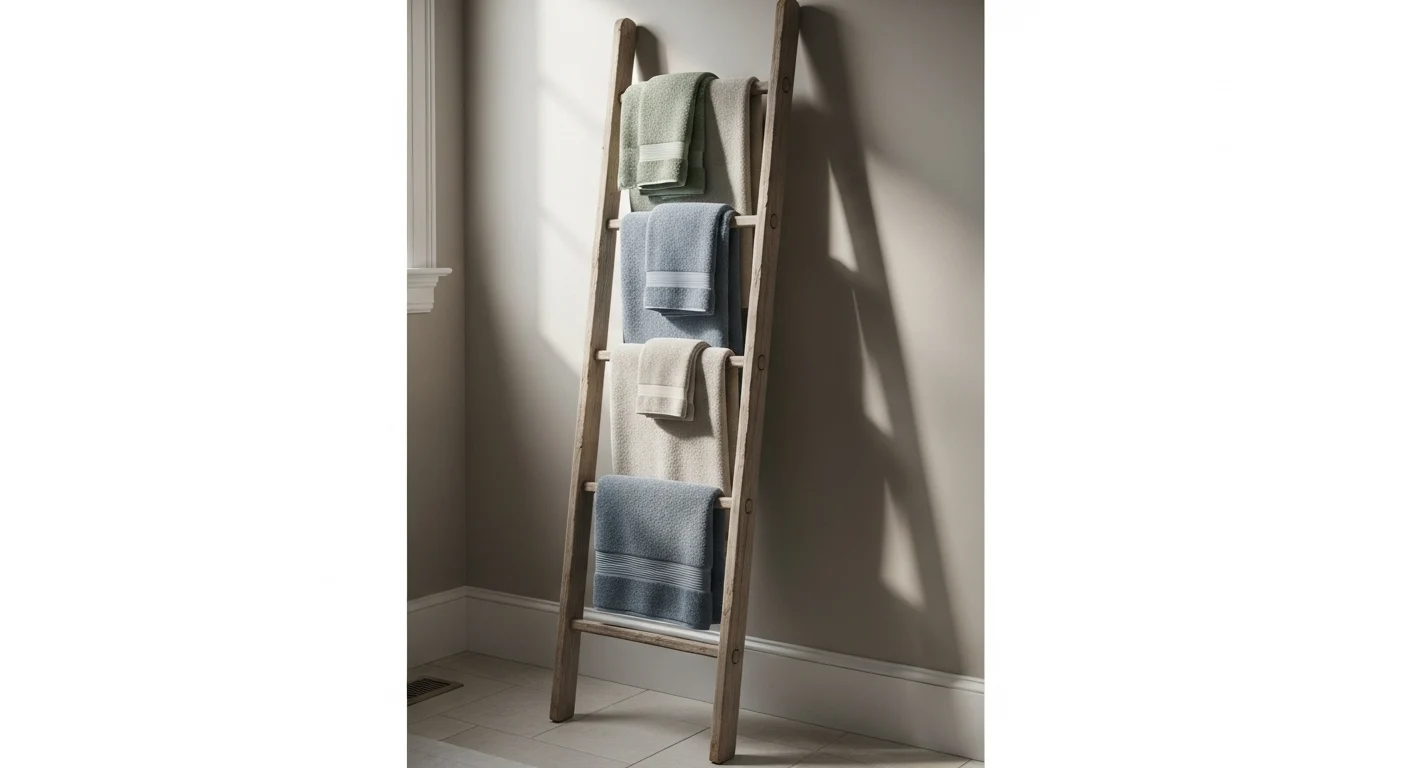
An old wooden ladder is good for hanging towels on. Just lean it against the wall. Give it a light sanding so nobody gets a splinter and throw a clear matte sealer on it. I’ve also seen people mount old wooden crates to the wall for shelves. They look alright.
On one job, this woman had this incredibly ornate old picture frame she loved. We took the glass out and just mounted the frame right on the wall around her boring, builder-grade medicine cabinet. It actually looked pretty cool. A cheap way to make something blah look custom.
You can do it with mirrors, too. Build a frame for a cheap, plain mirror out of some reclaimed wood. But the key is always the same for a bathroom: prep the thing. Clean it, sand it, and use a finish that can handle steam. A little work up front saves you from watching your cool project fall apart in a year.
Personal Touches: DIY Plant Holders and Artwork
Alright, the last bit. The stuff that makes it feel like your bathroom and not a hotel.
Plants are good. Brings a little life into a sterile room. But instead of putting another pot on the counter, hang it. A macrame hanger is easy enough to make. Just, I’d use a synthetic cord instead of natural cotton. The cotton can get mildewy. Or you can screw a little wooden planter to the wall. Just make sure you pick a plant that can survive in a damp cave with no light. A snake plant. You can’t kill those things.
You can make your own art. Doesn’t have to be a masterpiece. I had a client frame a piece of fabric that matched her shower curtain. Looked fine. Looked intentional.
The frame is what matters. A good frame makes anything look better. Just remember, if you have to drill into a tile wall to hang something, you need a special drill bit for glass and tile. Don’t try to use a regular one. You will crack the tile. I promise. And then you have a much bigger, more expensive problem on your hands.
Conclusion
So, yeah. Making your own stuff can be satisfying. You get exactly what you want and save a little money.
But the main lesson, the only one that really matters, is to build for the environment. Use materials that can take a beating from water. And take the time to seal everything properly. A project that’s built right will last. One that’s rushed will just be something you have to throw out next year.
How Do You Waterproof Wood for a Bathroom?
Like I said before. You need a marine-grade sealant. Spar Urethane, marine varnish, something like that. Sand the wood smooth first. Then apply at least three thin coats. Let it dry completely between coats. You have to cover every single surface. The edges, the ends, the bottom, any holes you drilled. Moisture gets in through the smallest unprotected spot.
Is It Safe to Use Glass Jars for Bathroom DIY Projects?
It can be. If it’s a soap dispenser or something sitting on the countertop, sure, it’s fine. I wouldn’t put a heavy glass container on a high, narrow shelf, though. You’re just asking for it to fall and shatter. Someone steps on that with bare feet… it’s a bad scene. And when you’re drilling glass, you have to be careful. Wear the glasses, use the right bit, keep it wet. Don’t force it.
What Tools Do I Need for Basic DIY Bathroom Accessories?
You don’t need a professional shop. A good cordless drill is the main thing you’ll want. You’ll also need a tape measure, a level, probably a hot glue gun for some of these projects, and some sandpaper. A simple hand saw and miter box will handle most small cuts. And I’m telling you again, get an electronic stud finder. It’s twenty bucks. Just get one. It’ll save you from making a huge, ugly hole in your wall.
Select the Right Materials
Choose materials that can withstand the high-moisture bathroom environment. For wood projects, select water-resistant woods like teak, cedar, or acacia. For other projects, use rust-proof metals like stainless steel or brass, and consider durable materials like concrete or rope.
Construct Your Accessory
Assemble your project, whether it is a wooden tray, a rope basket, or iron pipe shelves. For wood, cut pieces to size and assemble. For rope baskets, use a hot glue gun to coil thick rope, starting with a flat base and building up the sides. For shelves, screw together pre-threaded pipe pieces.
Waterproof and Seal Your Project
This is the most critical step for any item made of porous material, especially wood. Sand the item smooth and apply a minimum of three thin coats of a marine-grade sealant, such as Spar Urethane. Ensure every surface, including the bottom, edges, and any drilled holes, is completely covered. Allow each coat to dry fully before applying the next.
Install or Place Your Accessory
For wall-mounted items like shelves or hooks, proper installation is key. Use an electronic stud finder to locate wall studs for a secure anchor point. If studs are not available, use heavy-duty toggle bolts. Never rely on simple plastic drywall anchors for heavy items. For countertop items, simply place them in their desired location.