





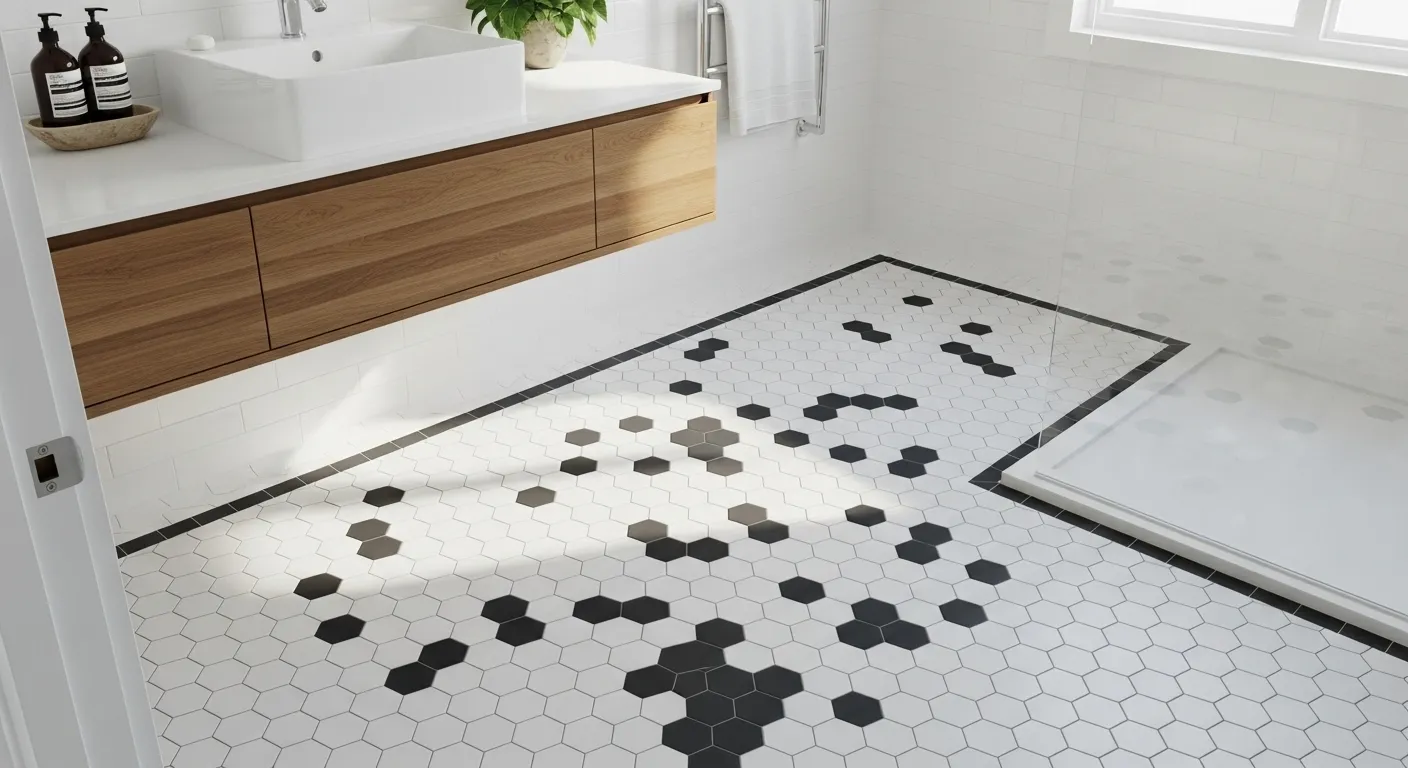

There’s a thing with penny tile floors. People love them. Never goes out of style, I guess. It’s got that old-timey feel but you see it in brand new houses, too. Hard to pull that off.
I’ve put in miles of this stuff. Been doing this since ’98. Seen it in those hundred-year-old Victorians over on Washington Ave and in those big modern boxes they’re throwing up out by the highway. The appeal is the same. But behind that nice honeycomb look is a job that’ll make you pull your hair out if you don’t get it right.
Folks see it on some TV show and fall in love, but they don’t see the details. The grout, especially. This isn’t a tile you just throw down and call it a day. Far from it.
So, someone asked me to explain this. Here’s the real story, from a guy who’s spent a lot of time on his knees with a trowel. We’ll go through the whole thing—what it looks like, how to put it down, what it costs, how to clean the damn thing. Then you can decide if you really want to deal with it.
Inspiring Penny Tile Bathroom Floor Design Ideas
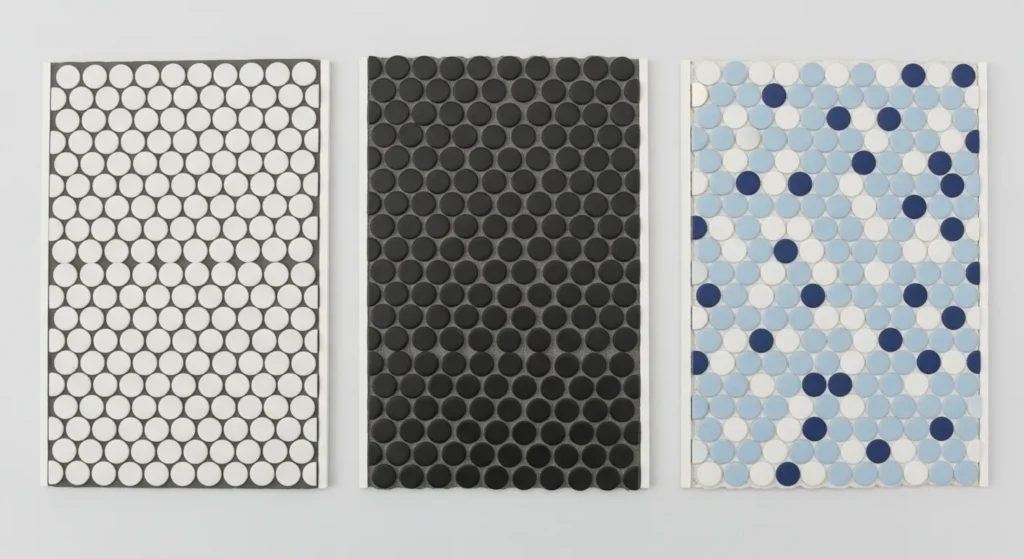
The thing about penny tile is its flexible. All those little circles let you get creative in a way you just can’t with a big ol’ 12×24 tile. The most common look? White. Always white.
A white penny tile floor with dark grout, like a charcoal gray, gives you that sharp, graphic look. Really makes every single tile pop. It just works, doesn’t matter if your bathroom is old or new.
Or you could go the other way. Use a white grout with the white tile. Gives you this subtle, textured floor. Almost looks like one solid surface from a distance. Can make a small bathroom feel a little less busy.
But you don’t have to stick to black and white. I’ve seen some wild stuff. A matte black penny tile with a light gray grout can look real sophisticated. Blues and greens are popular. We did a kid’s bathroom for this family, the Millers, I think. They had us mix light blue, navy, and white tiles all random-like. Looked like confetti. Kid loved it.
You can also make your own patterns if you have the patience of a saint. Little flowers, a border, whatever. Had a guy once try to spell out HOME on his entryway floor. Looked okay. The key is you have to lay it all out on the floor first. Dry. Before you even think about touching a bag of mortar.
And remember this: the grout color is just as important as the tile color. It’s not just filler. It’s half the design. It changes everything.
How to Install a Penny Tile Bathroom Floor: Step-by-Step
I’m going to be straight with you. Installing penny tile is not for beginners. It’s not a weekend DIY project for you and your buddy. It is unforgiving. Every little bump and dip in the subfloor will show right through those little tiles.
The most common screw-up I see is the sheet lines. Where you can see the damn squares. A perfect grid of seams that just screams amateur hour. Ruins the whole look. If you’re dead set on doing it yourself, fine, here’s how. But you need patience. Lots of it.
Step 1: Subfloor Preparation is Non-Negotiable
Your subfloor has to be perfect. Flat, clean, and solid. Any low spots or humps will make the tiles look like a wavy mess. I always start by dragging my six-foot level across the whole floor.
Use a self-leveling compound for any dips. You just pour it on and it finds its level. Magic. If you’re on a wood subfloor, you must use a cement backer board or an uncoupling membrane. That orange stuff. It keeps the wood’s movement from cracking your tile to pieces a year later. Do not, I repeat, do not skip this. Had to tear out a whole floor for a guy over on Maple Ave who tiled right onto the plywood. Total disaster.
Step 2: Layout and Dry Fitting
Before you mix anything, lay out your tile sheets. On the dry floor. Find the center of the room and start there, working your way to the walls. This way your cuts on the edges will be balanced, not some tiny, stupid-looking sliver on one side of the room.
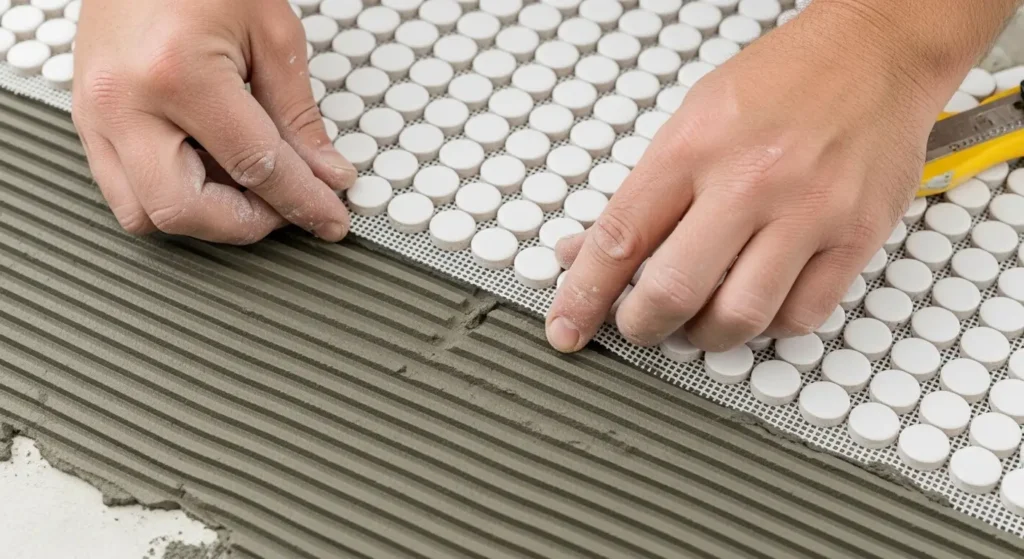
Now pay attention. The space between the sheets? It has to be the exact same as the space between the tiles on the sheet itself. This is the secret. This is how you avoid those grid lines. You might have to snip a few tiles off the mesh with a utility knife to get the spacing perfect. It’s a pain. It takes forever. Do it anyway.
Step 3: Applying Thin-Set Mortar
For a bathroom, you need a good polymer-modified thin-set. Don’t go cheap on the mortar. It’s the glue holding everything together for the next 20 years. Use a small V-notch trowel to spread it.
The trick is putting down enough for the tiles to stick, but not so much that it’s oozing up through every single joint. That’s a nightmare to clean up. A mistake people make is leaving the trowel ridges too high. I always knock them down a little with the flat side of my trowel before I lay the tile sheet. Makes a smoother bed.
Step 4: Setting the Tile Sheets
Easy does it. Place each sheet into the mortar. Don’t slide it around. Use a grout float or even just a flat piece of 2×4 to tap it down gently. You want every one of those little tiles to be making good contact with the thin-set. We call it beating it in.
When you place the next sheet, check your spacing. From every angle. Get on your hands and knees and look. It’s tedious, I know. But it’s worth it. Once it’s all down, leave it alone. Let the thin-set cure. Read the bag, it’s usually 24, maybe 48 hours. Don’t walk on it. Don’t let the dog walk on it. Just stay out.
Step 5: The Art of Grouting Penny Tile
Grouting penny tile takes way more grout and way more elbow grease than big tiles. You’ve got a million grout lines. It’s a huge part of the job. For floor tile with tiny joints, you can use unsanded grout so you don’t scratch the finish.
But a lot of penny tile joints are just wide enough that I’d rather use a fine-sanded grout. It’s just tougher. More durable for a floor. I usually go for one of the high-end, stain-resistant ones.
Slop the grout on with a float, pushing it into the joints from different angles. Make sure everything is filled. Then scrape off the extra with the edge of the float. Now, the sponging. This is where it all goes wrong for most people.
Use a damp sponge. Damp. Not soaking wet. Make light passes. And you need two buckets of water. One for the first dirty rinse, one for a second clean rinse. If you use a dirty sponge you’re just smearing a grout haze all over your brand new tile. Over-washing will pull the grout right out of the joints. It’s a balance.
After it cures, there’s always a final haze. Buff it off with a dry microfiber cloth. And for God’s sake, seal your grout. It protects it from water and stains. You have to do it in a bathroom. You just have to.
Choosing the Best Grout Color for Penny Tile
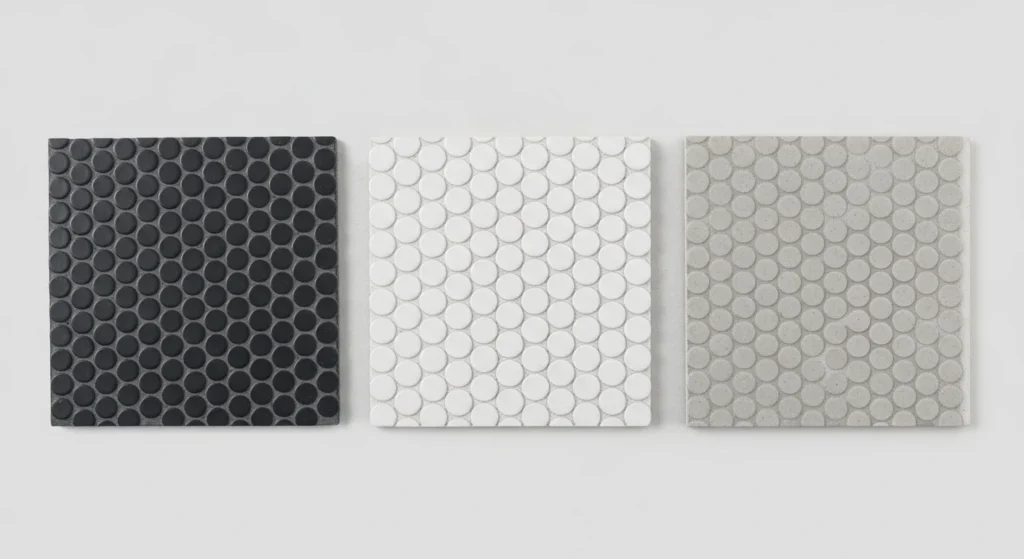
Picking the grout color for these floors is a huge deal. It’s not just a technical thing, it changes the whole look. The grout is like a picture frame for every single tile.
A high-contrast grout is what you see all the time. White tiles, dark gray grout. It makes that honeycomb pattern jump right out at you. It’s a good look, works for old houses, works for new ones.
The other good thing about dark grout is it doesn’t show every speck of dirt. The one mistake I see is people using pure, jet-black grout. It can be a bit much. A dark charcoal gray looks just as dramatic but a little softer on the eyes.
Then you have the opposite, a low-contrast grout. White tile, white grout. Or a light gray tile with a light gray grout. It’s a more subtle look. The tile shapes kind of blend together and you get this nice texture.
This works pretty good in a tiny bathroom. Makes it feel less cluttered. The problem? White grout on a floor is a nightmare to keep clean. It just is.
The safe bet, the one that never fails, is a medium gray grout. It gives you enough contrast to see the pattern, but it’s great at hiding dirt. It’s the workhorse of grout colors for a good reason.
Penny Tile Cleaning and Maintenance Made Easy
The first question I always get. Is this floor going to be hard to clean? And the honest answer is… yeah, it’s more work than a floor with giant tiles. The tiles themselves are easy. It’s the grout. There’s just so much of it.
All those lines are little canyons for soap scum and dirt and mildew to build a home.
The best thing you can do, and I’ve said it before, is to seal your grout when it’s done curing. And do it again every year or so. A good sealer soaks in and stops water and stains from getting a foothold. It makes cleaning about a hundred times easier.
For regular cleaning, just use a pH-neutral cleaner. Nothing harsh. No bleach, no acid. That stuff will eat away at your grout and your sealer.
If you need to do a deep clean, make a paste with baking soda and water and get in there with a little brush. An old toothbrush is perfect. The the main thing is just to stay on top of it. Wiping it down once a week is a lot easier than spending a whole Saturday scrubbing on your hands and knees.
Oh, and a good bathroom fan. Run it. Helps everything dry out and stops mildew before it even starts.
Understanding Penny Tile Cost and Materials
When you’re figuring out a budget, you have to think about the tiles and the labor. The tiles themselves are all over the place, price-wise.
Basic ceramic penny tiles are the cheapest. You can find them for maybe five, seven bucks a square foot. They’re fine for a bathroom floor. They’ll work. But they aren’t as tough as porcelain.
Porcelain is what I tell everyone to use for a floor. Any floor, really. It’s denser, it doesn’t absorb water, it’s tougher than ceramic. It’s made for wet places like a bathroom. You’ll probably pay between seven and fifteen bucks a foot for decent porcelain pennies. It’s worth the extra money. Trust me.
Then you got the fancy stuff. Glass and natural stone tiles. You’re looking at fifteen to thirty dollars a foot, maybe more. Glass looks incredible, but it can scratch, and it can be really slick when it’s wet unless you get one with a texture on it. Stone like marble is beautiful, no doubt. But it needs to be sealed all the time or it will stain if you just look at it wrong.
And the labor. It costs more to have a pro install penny tile than regular tile. It’s just slower, more detailed work. From the floor prep to the grouting, it all takes more time. If you’re hiring someone, don’t just go with the cheapest guy. You’ll get what you pay for with this stuff. A bad penny tile job is… really bad.
Your Penny Tile Project Awaits
So that’s the deal with a penny tile bathroom floor. It’s more than just a floor. It’s a look. Adds a lot of character. And yeah, the installation is a pain and you have to be meticulous, but the result is a tough, good-looking floor that’ll last forever.
Now you know what goes into it. The prep, the layout, the grouting, the cleaning. You’ve got the inside scoop. Whether you go with a simple white or some crazy color, at least you know what you’re getting into. Good luck.
Is penny tile a good choice for a bathroom floor?
Yeah, it’s a great choice. As long as it’s done right. Porcelain pennies are tough, they don’t absorb water, and all those grout lines actually give you good grip so you’re not slipping all over the place. The whole thing is about proper installation and sealing the grout. If you do that, you’re golden.
Is penny tile slippery when wet?
Not usually. A floor with big, smooth tiles is way more slippery. With penny tile, all those grout lines create a grid that your feet can grab onto, even when it’s wet. It has built-in traction. Now, if you get some super polished glass tile, that’s a different story. But your standard matte porcelain or ceramic? You’ll be fine.
What is the best grout to use for a penny tile floor?
For a bathroom floor, get a good quality, stain-resistant, polymer-modified grout. There are a few big brands out there that all make good stuff. As for sanded versus unsanded, it depends on how wide your grout lines are, but for a floor I usually lean towards a fine-sanded grout. It’s just more durable. And I’ll say it one last time, you have to seal it when you’re done. No excuses.