






Home / Bathroom Design / freestanding bath with shower
- Understanding the Basics of Tub and Shower Integration
- Modern Freestanding Bath with Shower Trends
- Clawfoot Freestanding Bath with Overhead Shower Kits
- Space-Saving Freestanding Tub Shower Combo Layouts
- Luxury Freestanding Bath with Rainfall Shower Head
- Freestanding Soaking Tub with Handheld Shower Attachment
- Conclusion
Look if you see a damp, nasty ring forming on the ceiling of the room directly below your master suite just stop. Seriously. That is the sound of five grand evaporating because someone thought a flimsy curtain ring was a real replacement for actual waterproofing. I’m typing this on my phone while waiting for a tile delivery but I see this every single week and it drives me nuts. People want the look—that spa vibe—but they forget that water is lazy and destructive. It goes exactly where it wants and usually that’s straight into your floorboards. If you don’t plan for the splash, you’re just building a very expensive mold farm.
Understanding the Basics of Tub and Shower Integration
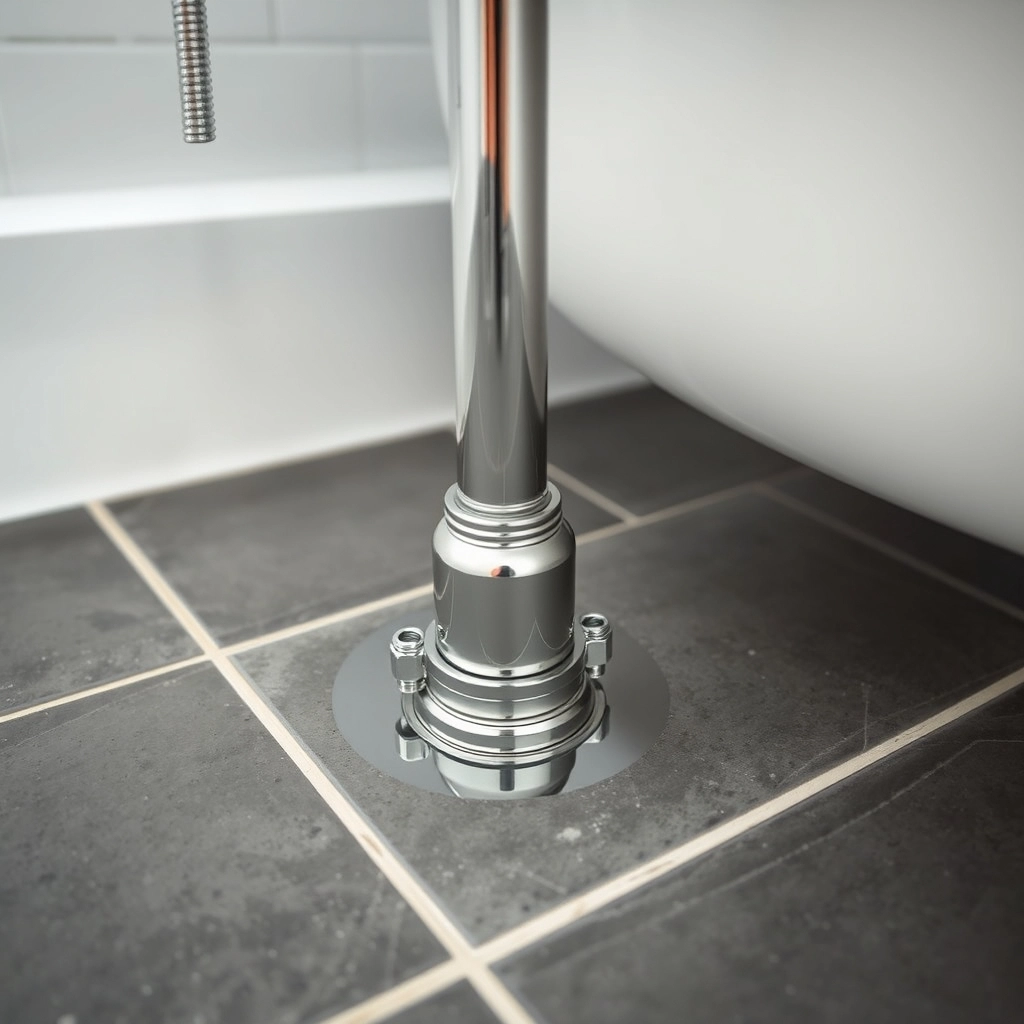
So what are we actually talking about here? A freestanding bath with shower is basically a tub that sits out in the open, not touched by walls, but it’s got the plumbing to let you stand up and wash. It’s not like those old alcove tubs where everything is boxed in. This setup needs a totally different mindset for drainage and how the water supply gets to the faucet.
I was over at Julie’s place on Mill Road last Tuesday and she had this exact problem. Beautiful tub. Zero planning for the vertical waterfall effect. You’re trying to keep a massive amount of moving water inside a basin that was really only built for sitting still. It’s physics. You either need a floor-mounted faucet with a really tall riser or, if you’re lucky, you’ve got a wall close enough to mount the hardware there.
But containment? That’s the real headache. Since you don’t have three tiled walls to catch the spray, you’re betting everything on specialized curtain rods or maybe a glass screen. Most DIYers don’t get how much water bounces. I’ve spent thirty years ripping out rotted subfloors because people ignored how water travels. It’s a mess.
I put together a quick breakdown of how you actually get water into these things because it is the first question everyone asks during a walkthrough.
| Hardware Type | Installation Style | Best Use Case |
|---|---|---|
| Floor Mounted | Pipes come through the subfloor | True freestanding tubs away from walls |
| Wall Mounted | Pipes inside the bathroom wall | Tubs tucked close to a tiled surface |
| Deck Mounted | Faucet sits on the tub rim | Tubs with pre-drilled holes |
My Take
Go with floor-mounted if you want the ‘wow factor’, but remember it is the most expensive to plumb because you are cutting into the floor.
Modern Freestanding Bath with Shower Trends
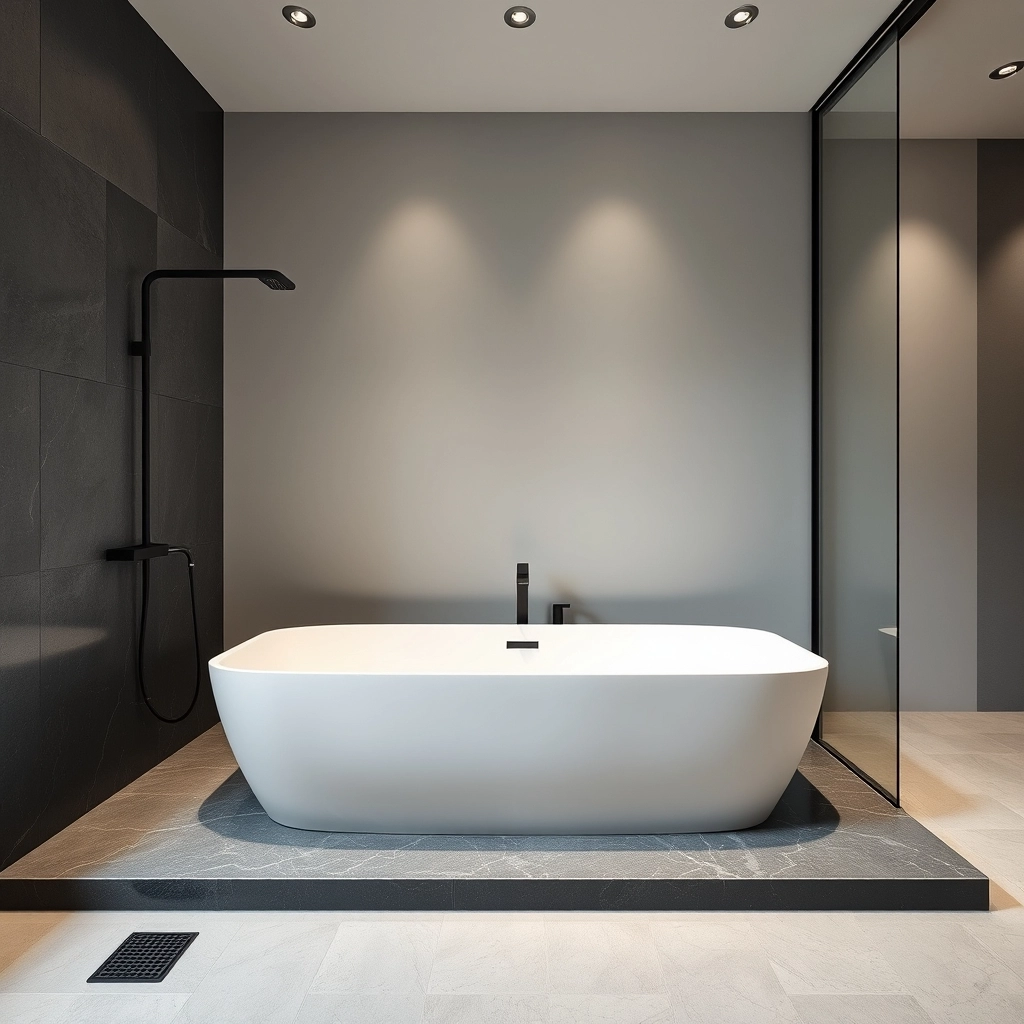
Lately, everyone wants clean lines and that minimalist look. A modern freestanding bath with shower usually means a flat-bottomed tub made of acrylic or maybe stone resin. Then they pair it with a matte black or brushed gold faucet. It looks killer in a magazine.
These work best in a wet room layout where the whole floor is basically one big drain and everything is sloped toward a linear drain. If you aren’t doing a full wet room, you have to be obsessive about the height of the showerhead. If it’s too high, the splash management becomes a total nightmare.
A lot of the newer stuff uses exposed thermostatic valves. It’s nice because you set the temp and it stays there. Good for kids so they don’t get scalded. But these valves are heavy. Really heavy. You can’t just slap them onto thin plywood and call it a day. You need rock-solid bracing under those floorboards. If that fixture wobbles even a little, you’re going to get a leak. It’s not a matter of if, it’s when.
You have to choose your material wisely based on your floor strength and how long you like to soak.
| Material | Weight | Heat Retention | Price Point |
|---|---|---|---|
| Acrylic | Light | Average | Budget Friendly |
| Stone Resin | Heavy | Excellent | High End |
| Cast Iron | Very Heavy | Superior | Premium |
My Take
Acrylic is great for ‘upstairs remodels’ where you do not want to beef up the floor joists to handle a literal ton of weight.
Recommended Resource
If you are looking to upgrade your setup without tearing out the walls, adding a versatile fixture like this matte black rainfall kit can bridge the gap between style and utility.
Clawfoot Freestanding Bath with Overhead Shower Kits
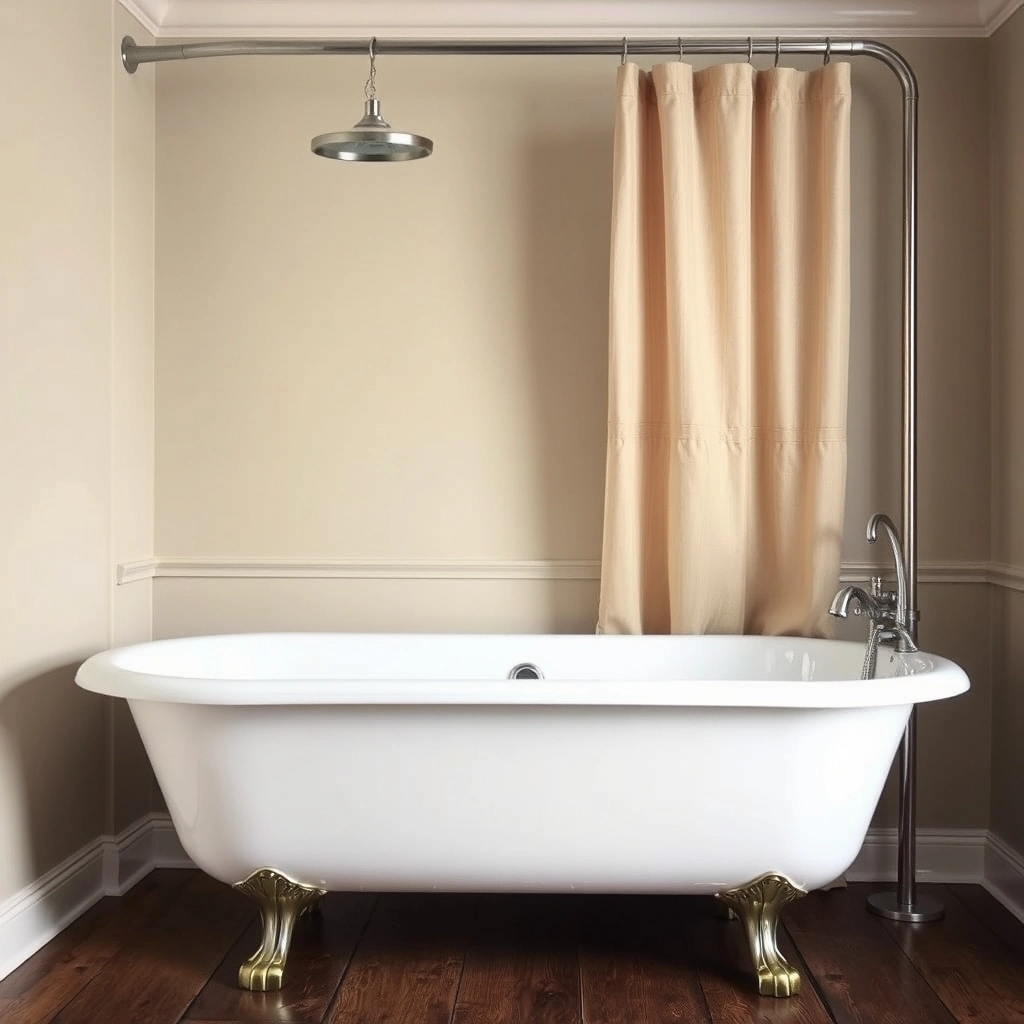
Now, if you want that old-school farmhouse feel, the clawfoot tub is still the king. These usually come with a hoop-style curtain rod that hangs from the ceiling or the wall. It’s a classic look. But let’s be real. It’s the worst for splashing. That curtain is always trying to blow inward and touch your legs. Annoying.
Cast iron is great because it stays hot forever. You can soak for an hour and the water is still warm. But the weight? Man. A cast iron tub full of water and a grown adult can easily hit seven hundred pounds.
Check your joists. Seriously. Don’t just drag an antique find into a second-floor bathroom without knowing if the house can hold it. I always tell people to look at floor reinforcement first. You might need to sister some joists or add a support post. Also, I use offset supplies for the plumbing. It gives you a little room to breathe when you’re trying to line everything up perfectly.
Space-Saving Freestanding Tub Shower Combo Layouts
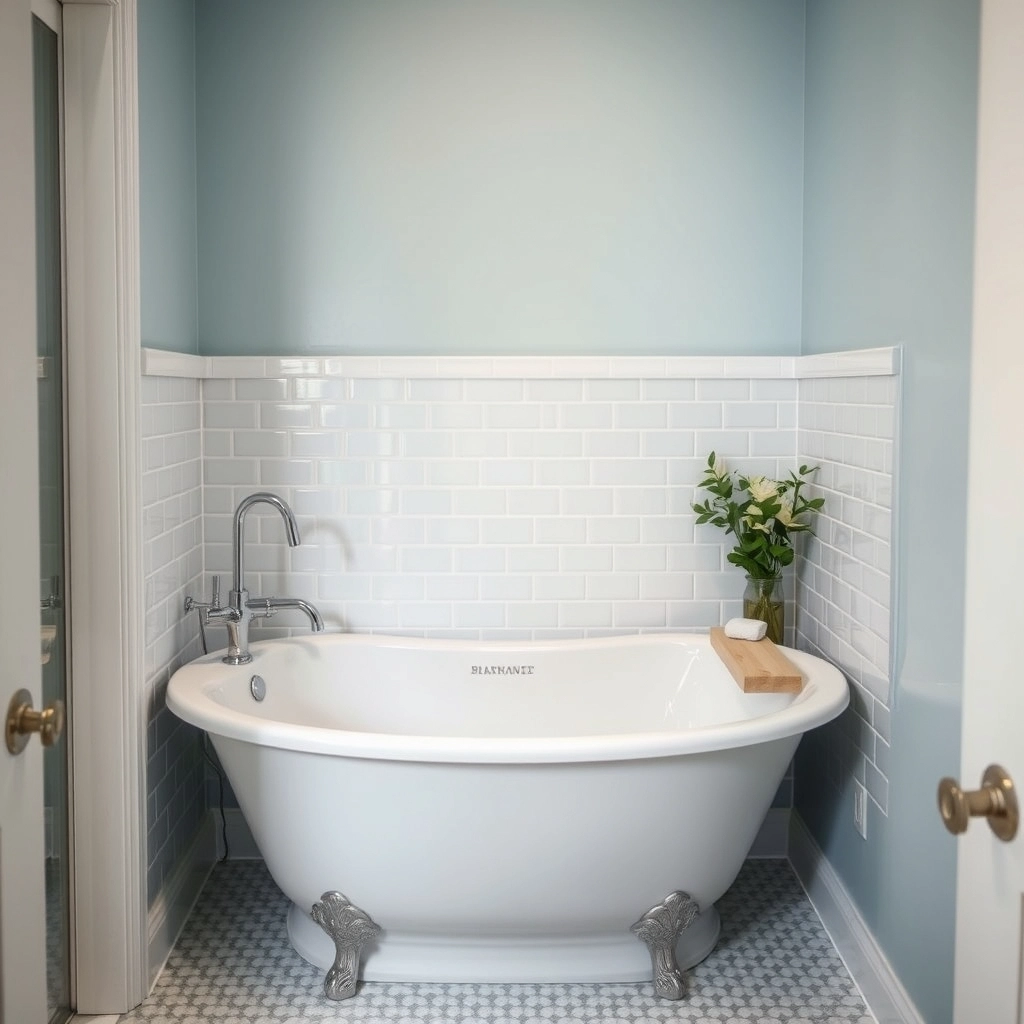
You don’t need a massive room to make this work. There are compact tub designs now that are only about 55 inches long. They’re deeper, so you can still soak, but they don’t take up the whole footprint. I usually suggest tucking these into a corner.
Even though it’s freestanding, having it near two walls means you can tile those walls and waterproof them. It’s safer. You can use an L-shaped rod instead of a full circle. It’s much sturdier. It doesn’t rattle every time you pull the curtain shut.
People always ask about the bottom line, so I broke down the typical costs I see in the field for a full install.

My Take
These prices are ‘ballpark figures’ and do not include the cost of the tub itself, so plan your budget for the hidden plumbing labor.
There is also the back-to-wall style. It looks like a standalone tub from the front, but the back is flat against the wall. This is the smart play. It gives you a ledge for your soap and shampoo. Plus, you don’t have to clean that narrow, dusty gap behind the tub. It’s a practical compromise that saves a few inches of space and a lot of frustration.
Luxury Freestanding Bath with Rainfall Shower Head
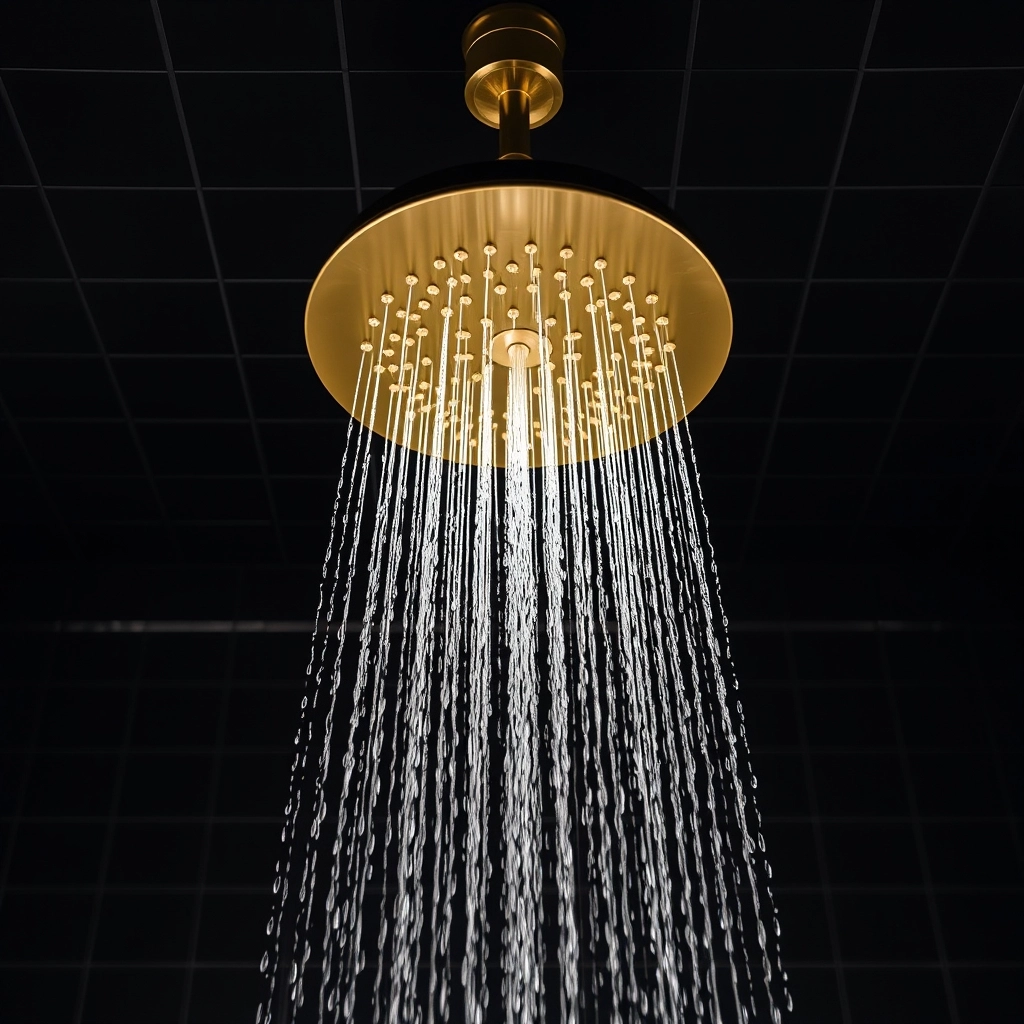
If you’ve got the cash, a rainfall showerhead coming out of the ceiling is the way to go. It drops a column of water straight down. This actually helps keep the water inside the tub better than an angled head that’s shooting water at a 45-degree angle.
Just a heads up though. Those big rainfall heads move a lot of water. If you have a standard fifty-gallon water heater, you’re going to run out of hot water in ten minutes flat. You might need upsized supply lines or even a dedicated tankless heater just for the master bath.
Budget Alert
Installing a ceiling-mounted rainfall head often requires ‘extensive ceiling work’ and a dedicated shut-off valve, which can add fifteen hundred dollars to your plumbing bill before you even buy the fixture.
Freestanding Soaking Tub with Handheld Shower Attachment
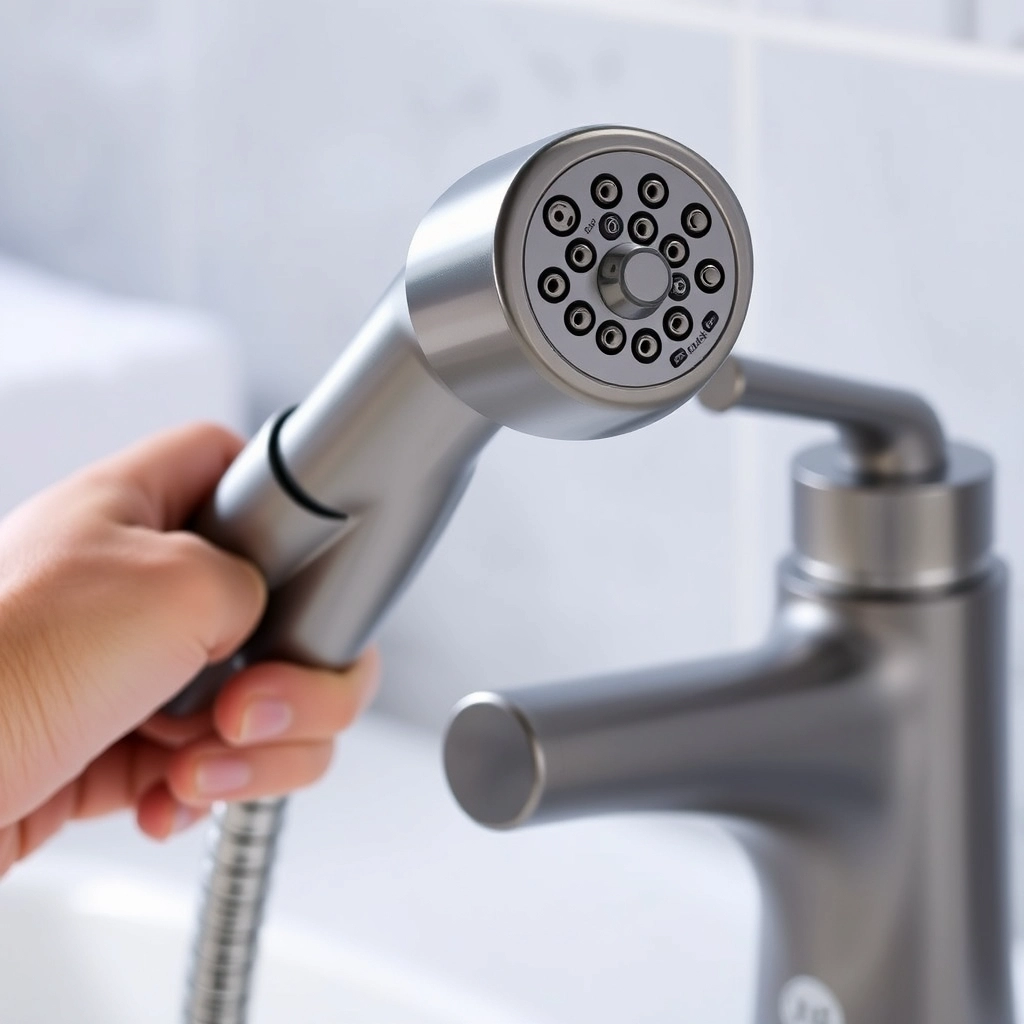
Look, maybe you don’t actually need a full shower every day in the tub. A handheld wand on the tub filler is usually enough for most people. It’s perfect for rinsing your hair or washing the dog.
It’s way easier to install. No curtain rods. No ceiling pipes. It’s also a cleaning essential. If you’ve ever tried to rinse a big acrylic tub using a cup, you know it’s a total nightmare.
The wand gives you that added accessibility too. If you’re feeling under the weather or just don’t want to stand up, you can sit and rinse. Simple. No fuss.
Conclusion
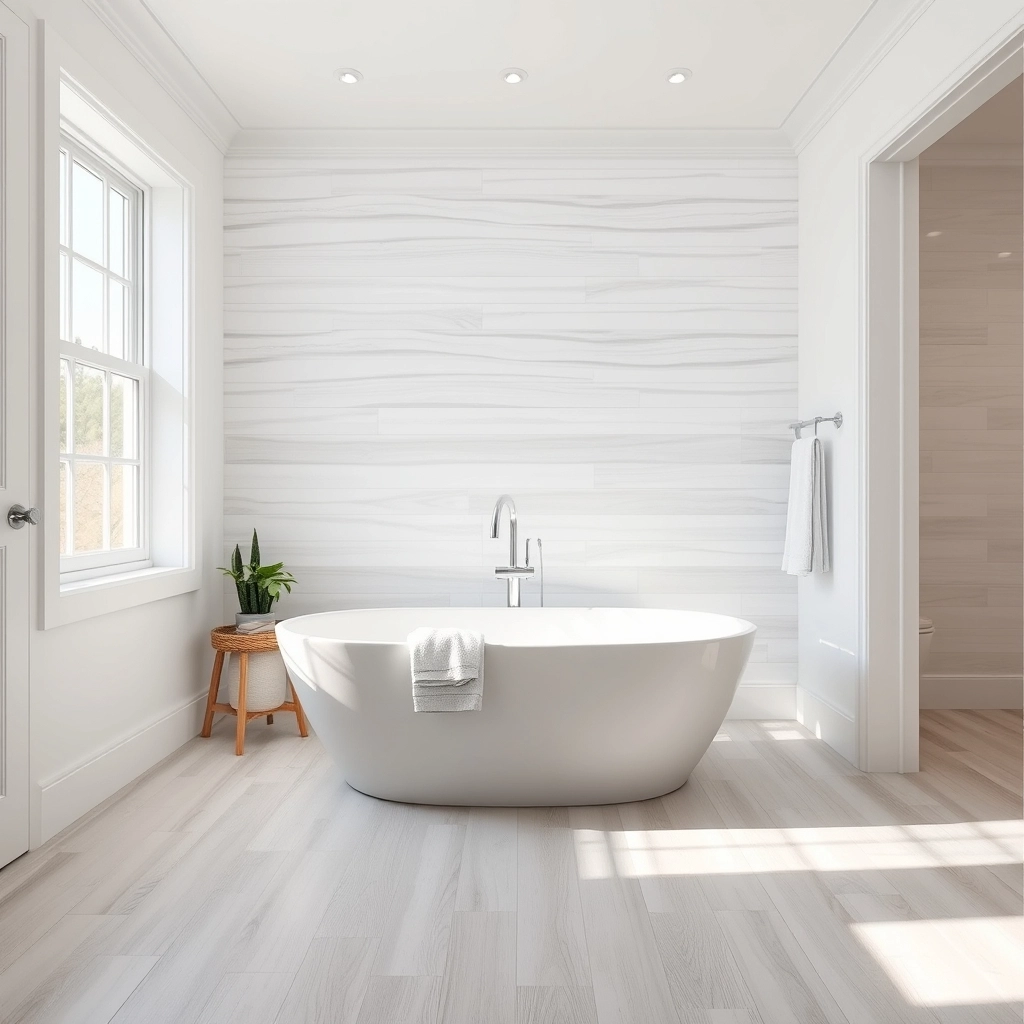
Picking a freestanding bath with shower is a big move. It looks amazing, sure, but the engineering is what matters. Whether you want a modern look or a vintage clawfoot, you have to put water management ahead of the aesthetic.
Plan your drainage early. Choose the right hardware. Don’t cheap out on the rough-in phase because fixing a leak under a finished floor is ten times more expensive than doing it right the first time. A bathroom has to work. If it doesn’t work, it’s just an expensive sculpture that makes your house rot.
I have seen every mistake in the book over the last few decades, so here is a quick guide to common headaches you might face.
| Problem | Likely Cause | Professional Fix |
|---|---|---|
| Wobbly Faucet | Poor bracing | Add ‘blocking’ between floor joists |
| Low Pressure | Small supply lines | Upgrade to ‘three quarter inch’ pipes |
| Cold Water | Small heater | Install a ‘tankless unit’ |
My Take
If your faucet moves even a ‘quarter inch’ when you touch it, your plumber did not use enough blocking in the floor.