


Look, those 80s globe lights? Total garbage. I’m staring at a photo Kyle sent me from his place on George Street—those Hollywood bars are just depressing to look at every morning. Why do people think they need an electrician and a bank loan to fix a light? Seriously. It’s just metal and wires. You don’t need a sledgehammer. Most of the time, you just need some grit and maybe a ten-dollar can of paint. Honestly, the mirrors usually crack before the lights actually fail anyway. Just my two cents.
- Understanding the Basics of a DIY Bathroom Light Fixture Makeover
- Essential Tools and Safety Preparation
- DIY Bathroom Light Fixture Cover: Hide a Dated Fixture for Under $15
- Spray Paint vs Chalk Paint: Which Works Best for a Vanity Light?
- Mason Jar and Shade Frame Upgrades: Creative DIY Transformations
- How to Upcycle an Old Bathroom Vanity Light Instead of Throwing It Away
- Before and After: Real Results on a Tight Budget
- Conclusion: Final Thoughts on Your DIY Bathroom Light Fixture Makeover
Quick Access
Learn how to hide an ugly light bar for under fifteen dollars, choose between spray paint and chalk paint, or upcycle your old vanity lights with mason jars and modern shades.
Understanding the Basics of a DIY Bathroom Light Fixture Makeover
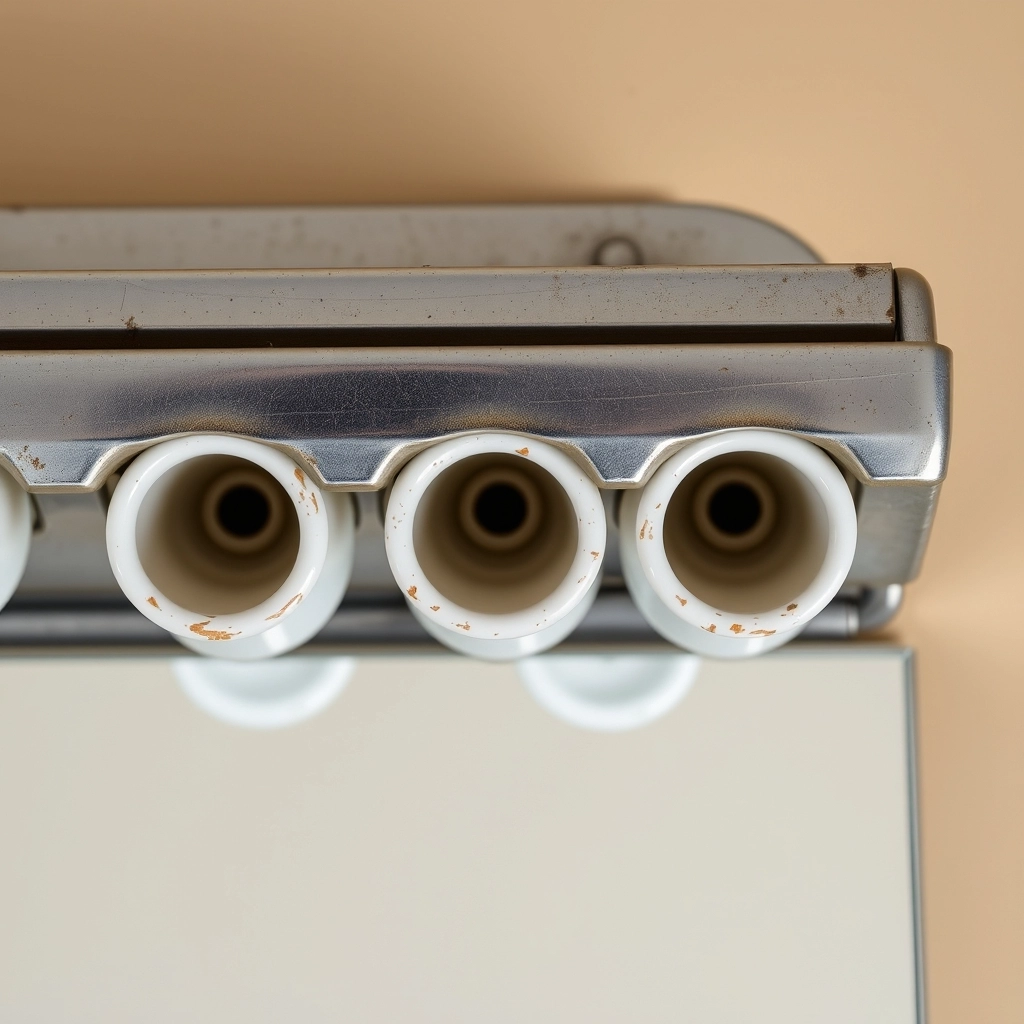
When I talk about a DIY bathroom light fixture makeover, I’m not talking about some high-end architectural redesign. I’m talking about hiding the ugly bits. It’s about looking at that pitted, gross chrome housing and realizing it’s just a shell. The bones are usually fine. You’ve got a mounting plate, some sockets, and some copper. Simple.
Most folks get intimidated because they think electricity is magic. It isn’t. If the internal stuff works, the rest is just cosmetics. It’s like putting a new bumper on an old truck.
I’ve seen people spend four hundred bucks on a new fixture when they could’ve just swapped the globes. Or painted the metal. You’re basically working with the existing skeleton. Unless the thing is literally falling off the wall or the wires are fried, you’ve got a solid foundation. Don’t overthink the physics. You’re not building a rocket. You’re just making your bathroom look less like a cheap motel from 1984.
Before you start ripping things out, you need to understand what you are actually looking at under all that dust and grime.
| Component | Material | DIY Potential |
|---|---|---|
| Mounting Plate | Steel | Usually reusable |
| Sockets | Ceramic or Plastic | Inspect for damage |
| Wiring | Copper | Check for flexibility |
| Housing | Metal | Prime candidate for paint |
My Take
Most of the time, the metal housing is the only part that actually looks bad. If the ‘guts’ of the light are clean, you have a winner.
The Golden Rule
If the sockets are charred or the wires feel brittle and crunchy like old potato chips, stop right there. No amount of paint can fix a fire hazard, and that is when you should actually buy a new unit.
Essential Tools and Safety Preparation
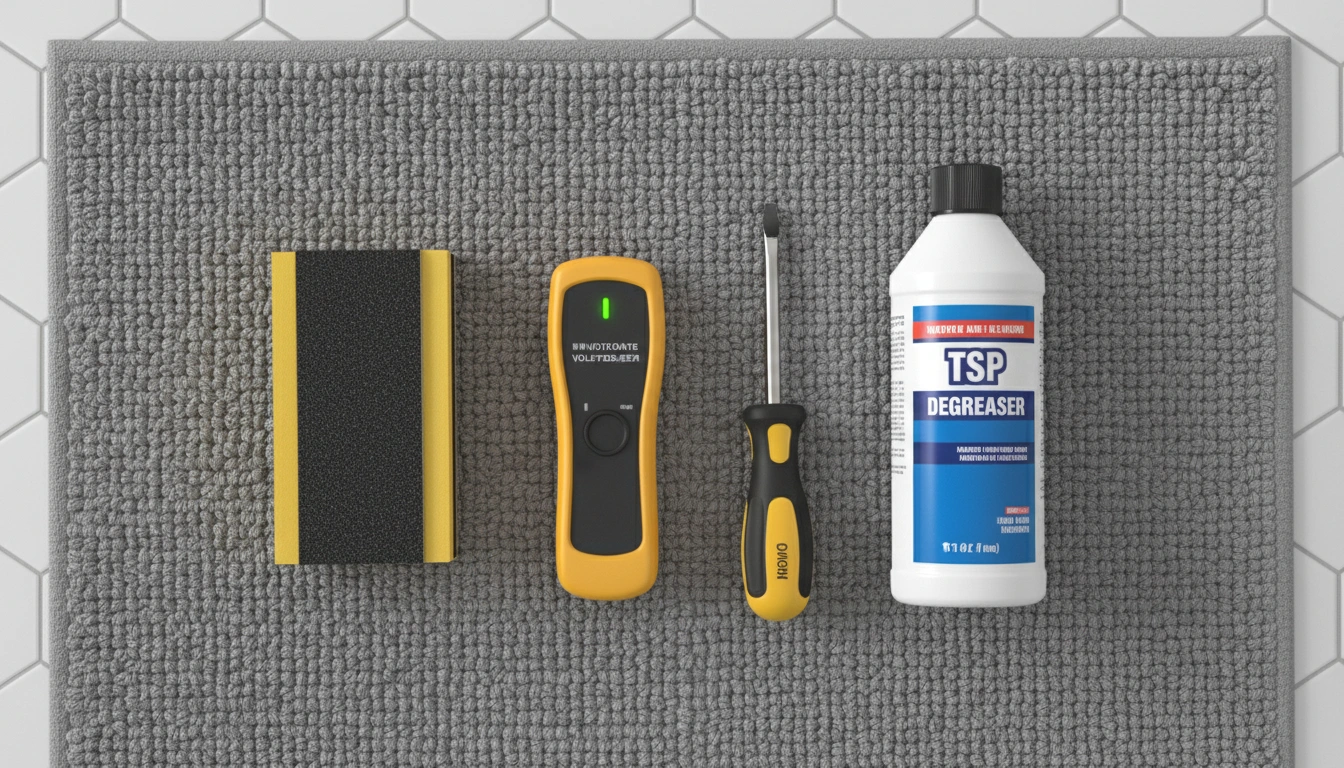
First thing. Go to the breaker. Don’t just flip the wall switch. I’ve seen guys get a nasty zap because someone else walked in and flipped the switch while they were holding a screwdriver. Not fun. Find the panel. Kill the power. Use one of those cheap little voltage testers—the ones that beep—to make sure.
You’re gonna need some basic junk from the garage. Screwdrivers. Blue tape. A sanding block. Maybe some Dawn dish soap or TSP if you really want to get the hairspray off.
Cleaning is the part everyone skips. Bad idea. Bathrooms are gross. They’re coated in a layer of steam, skin cells, and hairspray. If you try to paint over that, the paint is gonna peel off in a week. Scrub it. Use a degreaser. Get it bone dry. Then, hit it with some 220-grit sandpaper. Just enough to scuff the shine. It gives the paint something to grab onto. If you don’t scuff it, the paint just slides around like grease on a pan.
I put together a quick list of what you actually need in your bucket before you start.
| Tool | Function | Contractor Tip |
|---|---|---|
| Non-Contact Voltage Tester | Safety check | Get the beeping kind |
| Screwdriver Set | Removal and install | Use the right size tip |
| Degreaser or TSP | Deep cleaning | Removes years of hairspray |
| 220-Grit Sanding Block | Surface prep | Just scuff the shine |
My Take
Do not skip the degreaser. Bathrooms are oily places and paint hates oil more than anything else. This is ‘number one’ for a long-lasting finish.
DIY Bathroom Light Fixture Cover: Hide a Dated Fixture for Under $15
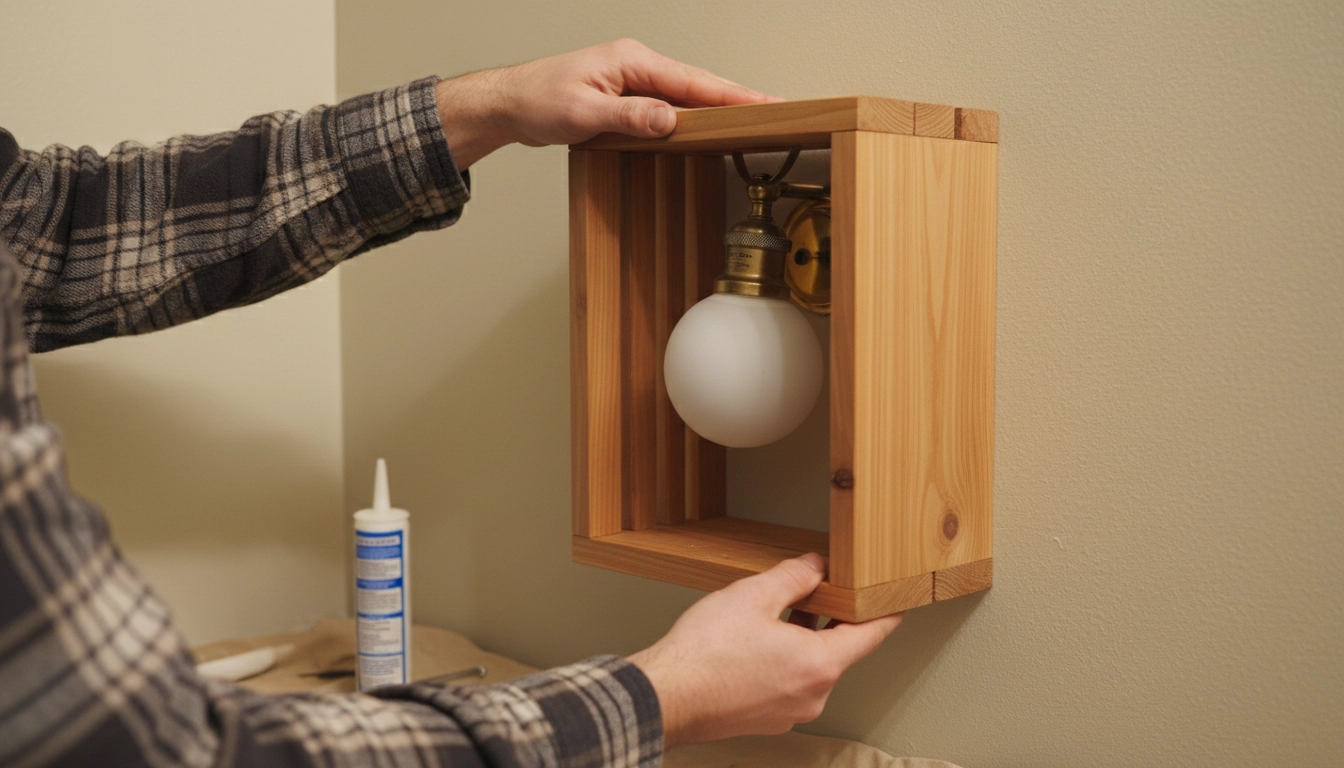
If you have those long, rectangular bars with the big round bulbs—the ones that get hot enough to cook an egg—you’ve got options. A DIY bathroom light fixture cover is the easiest way out. I’ve seen people build simple three-sided boxes out of thin wood. Cedar is good because it handles the moisture.
You build a frame. You stain it. You slip it over the bar.
But listen to me. Leave the top and bottom open. I can’t tell you how many DIYers build a solid box and then wonder why the wood is charring or warping. Heat has to go somewhere. You need that convection. Air goes in the bottom, hot air goes out the top. Simple.
Some people use frosted acrylic or even fabric panels. If you go the fabric route, make sure the bathroom has a decent fan. Otherwise, that linen is gonna turn into a mold factory. Magnets are your best friend here. You can glue magnets to the frame and just click it onto the metal housing of the old light. No screws. No holes. No headache. It hides the bulbs and gives you that soft, diffused glow that makes you look way younger in the mirror. Kyle loved that part.
Spray Paint vs Chalk Paint: Which Works Best for a Vanity Light?
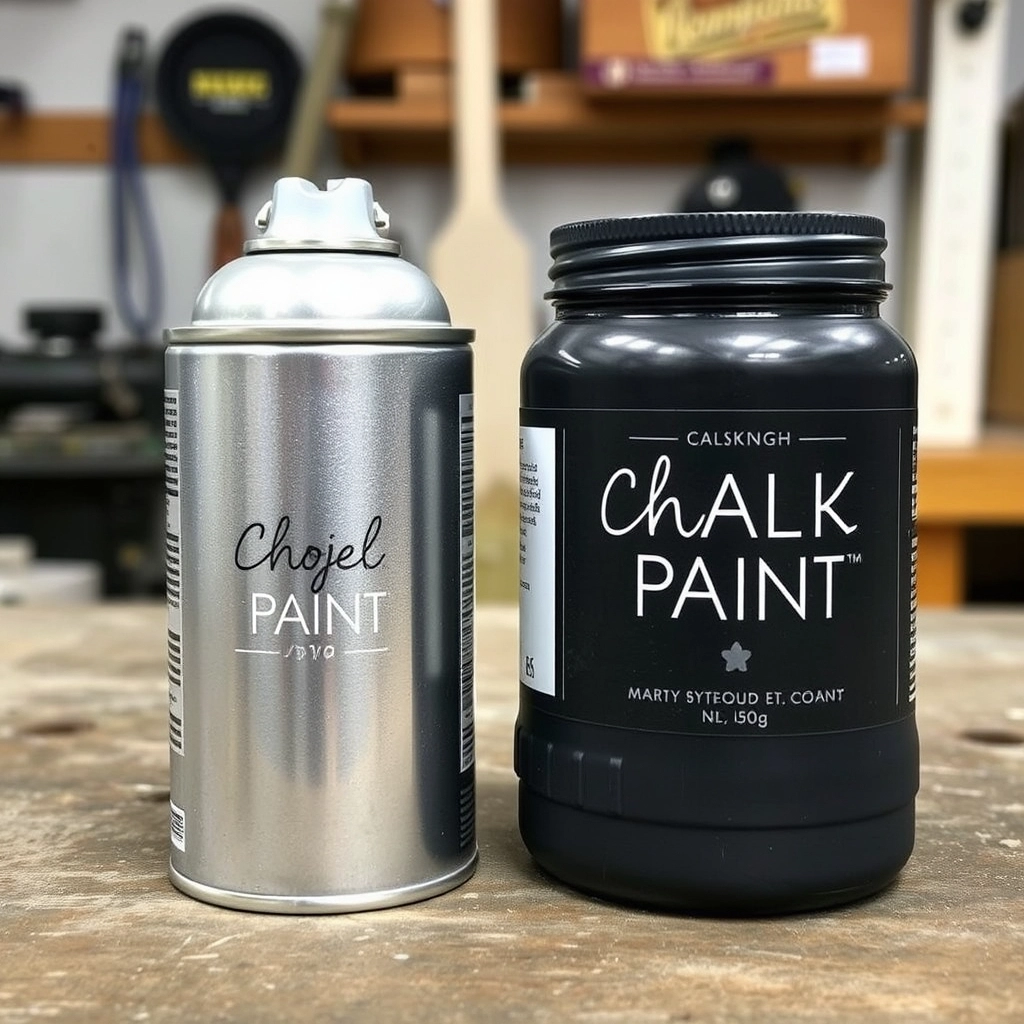
Changing the color is the biggest win. You got two paths.
Spray paint is for the perfectionists. If you want it to look like it came from a factory, use Rust-Oleum or Krylon. But you have to take the light off the wall. Do not try to spray in the bathroom. I don’t care how much plastic you lay down. That mist gets everywhere. It’ll be in your towels, your toothbrush, your lungs. Take it to the garage. Give it three thin coats. Thick coats run. Thin coats win.
Then there’s chalk paint. This is for the I don’t want to touch the wiring crowd. It sticks to anything. Chrome, brass, whatever. You mask off the wall and the mirror with tape and just brush it on. It doesn’t need a primer.
It’s got a bit of a texture. Some people call it rustic. I call it I saved three hours of my life. Once it’s dry, you hit it with a little wax or a clear sealer. It ends up looking like old iron or bronze. If you’re nervous about unhooking wires, chalk paint is your play.
Choosing between a spray can and a brush depends on how much work you want to do with the wiring.
| Paint Type | Application | Finish Quality | Best For |
|---|---|---|---|
| Spray Paint | Outdoor/Garage | Smooth | Off-the-wall projects |
| Chalk Paint | On-the-wall | Matte/Textured | Quick updates |
| Metallic Wax | Rub-on | Aged/Patina | Small accents |
My Take
If you are a beginner, go with chalk paint. It is much more forgiving and you do not have to worry about ‘overspray’ hitting your bathtub.
Heat Resistance
Standard craft paint is not designed for heat. Always use paints rated for higher temperatures or ensure you are using cool running LED bulbs to prevent the finish from bubbling or off-gassing.
Mason Jar and Shade Frame Upgrades: Creative DIY Transformations
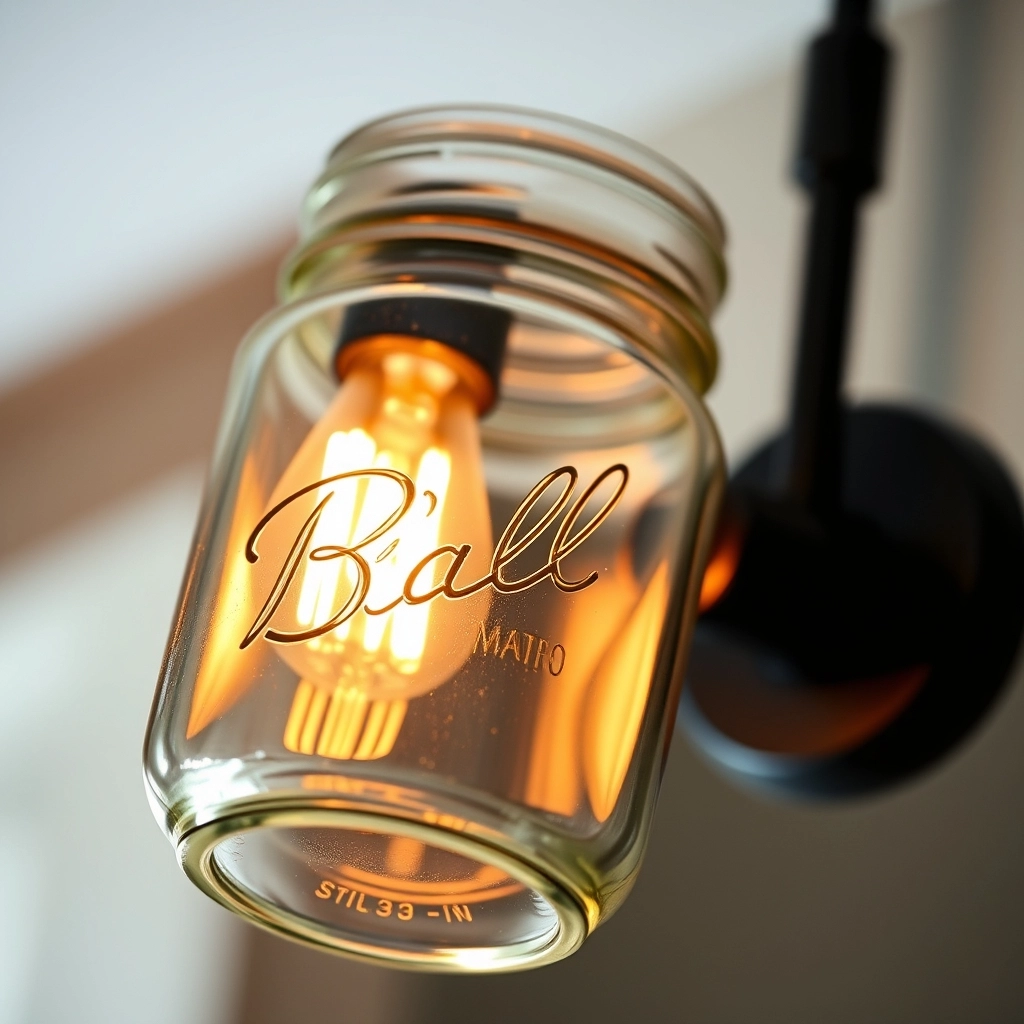
The metal might be fine, but the glass? Those tulip shades are hideous. They look like something out of a grandma’s guest room.
Swap ’em.
Mason jars are the classic move. Use the wide-mouth ones. They screw right into the standard rings most of these lights use. It gives it that modern farmhouse look. It’s cheap, and it works.
Or, go industrial. Look for wire cage guards or drum shades at the big box stores. You can usually find them in the clearance aisle or the replacement parts bin. If the threaded collar on your light is standard—and most are—you just slide the new cage on and tighten the ring. Done.
I once saw a guy use small metal wastebaskets. He drilled a hole in the bottom, painted them matte black, and used them as shades. Looked like a five-hundred-dollar designer fixture. Creative thinking beats a big budget every time.
How to Upcycle an Old Bathroom Vanity Light Instead of Throwing It Away
Upcycling isn’t just paint. It’s about flipping the script.
A lot of these old lights were put in upside down. Bulbs pointing up. It throws shadows under your eyes and makes you look like a ghost. If you have the clearance, flip the whole housing over. Point the bulbs down. Instant better lighting for shaving or whatever.
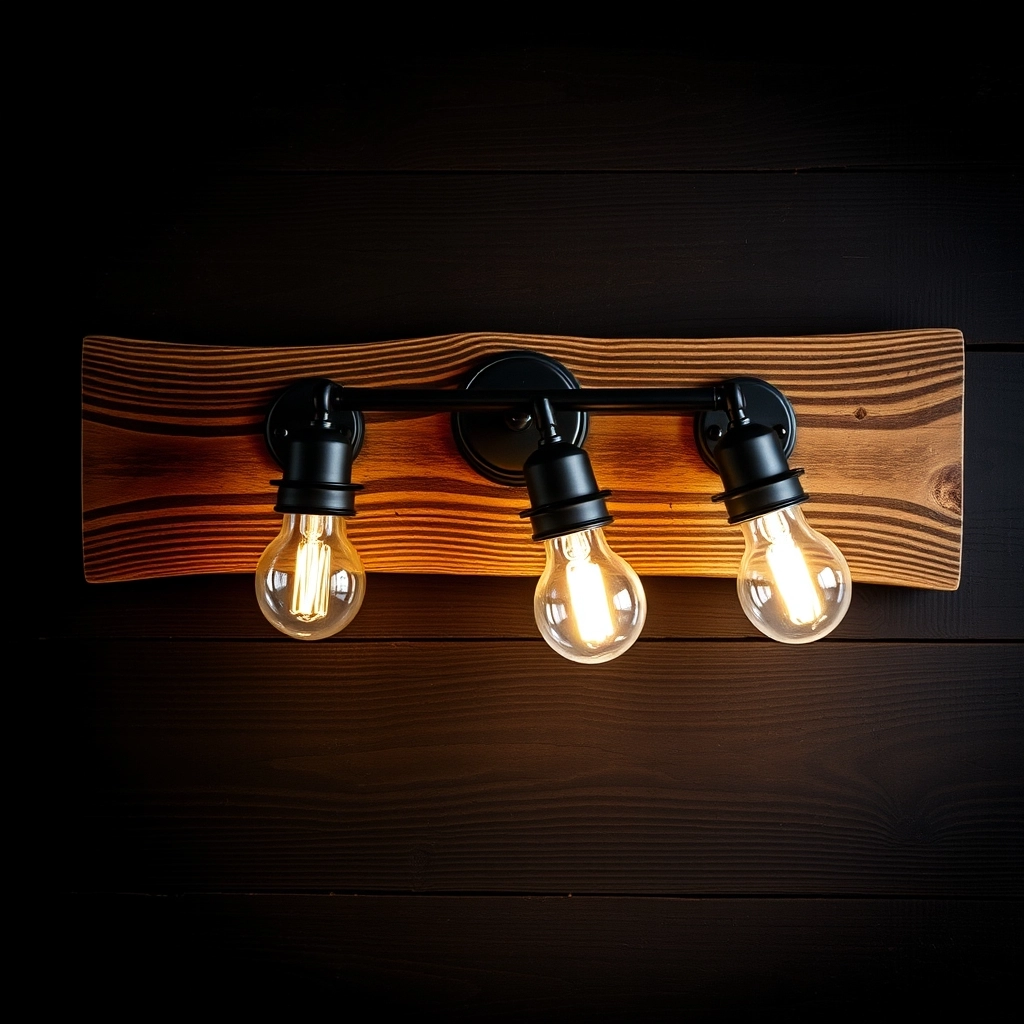
You can also pull the guts out. If you’re handy, you can take the sockets and mount them to a piece of reclaimed wood or an old beam. You just have to make sure the wiring is tucked into a UL-rated box behind the wood. Fire safety isn’t optional.
Use wire nuts. Tighten them until they don’t move. Wrap them in electrical tape if you’re paranoid. It’s a great way to get a custom look for zero dollars. Just don’t leave exposed wires. That’s how houses burn down.
Before and After: Real Results on a Tight Budget
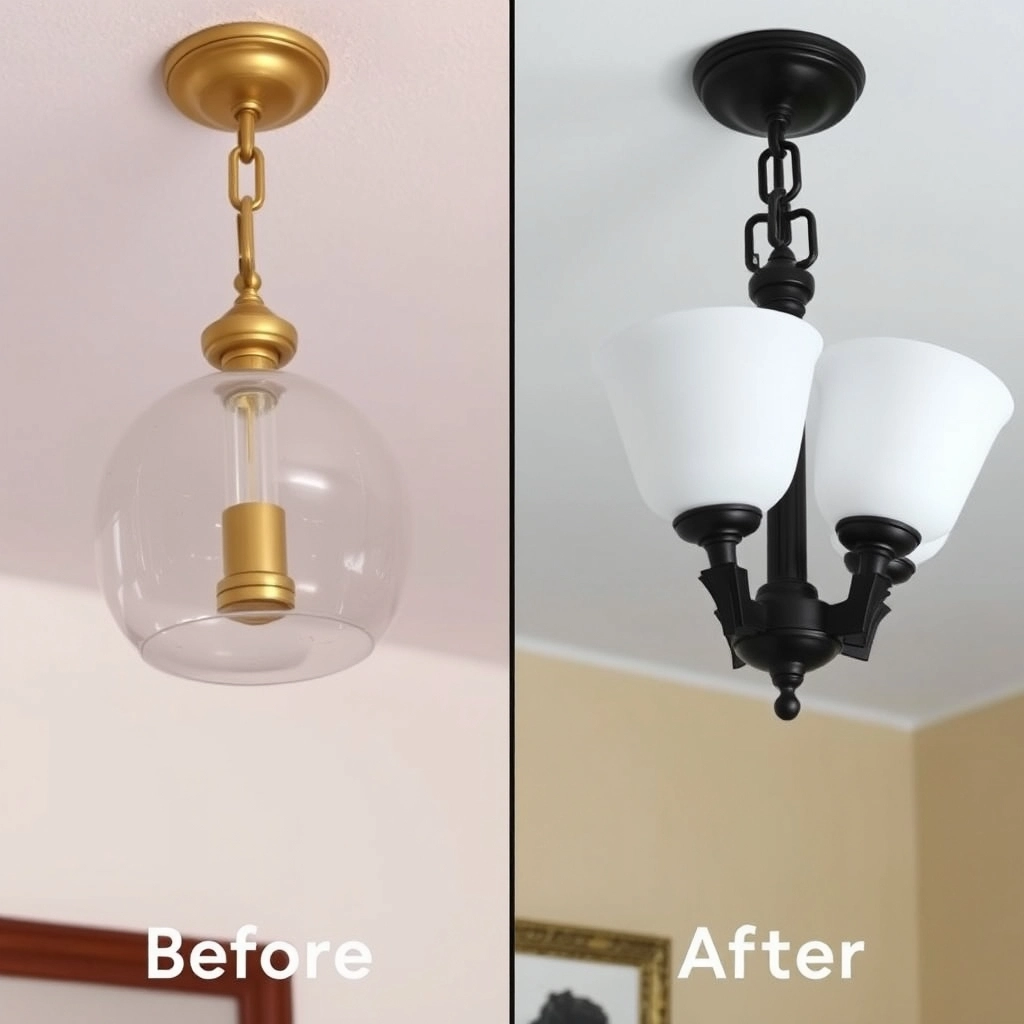
The best one I did recently was a rental. The metal was pitted and the bulbs were those clear edison ones that hurt your eyes.
We didn’t even take it off the wall. Cleaned it with rubbing alcohol. Two coats of black chalk paint. Swapped the bulbs for some frosted LEDs. Total cost? Twenty-six bucks. The landlord thought we bought a new light.
Another one was a gold fixture that looked like a 70s Vegas hotel. We used some frosted glass spray on the old clear globes. Painted the gold metal a brushed silver color. It looked like a brand-new unit from a showroom.
The secret is the prep. If you’re lazy with the cleaning, it’s gonna look like a DIY disaster. Take the extra ten minutes to scrub the grime off. It matters.
Here is a breakdown of what you are likely to spend versus buying a brand new designer fixture from a big box store.

My Take
The savings here are massive. You can spend the extra cash on a better showerhead or some decent towels instead of overpaying for a basic light.
Cleaning is Key
Use a degreaser or simple dish soap to clean the fixture before painting. Years of hairspray and steam create a film that will make your new paint peel off in weeks.
Conclusion: Final Thoughts on Your DIY Bathroom Light Fixture Makeover
Look, you don’t need to be an expert. You just need some patience and a bit of common sense. Whether you’re building a box to hide the ugly chrome or just slapping some paint on it, you’re making your place better.
Be safe. Use your head. If the wires look like they’ve seen better days, call a pro. But for the cosmetic stuff? You got this. It’s a weekend project that actually pays off every time you look in the mirror. If you find a cool shade at a thrift store that fits, use it. That’s how you get a house with character instead of a house that looks like a catalog.