





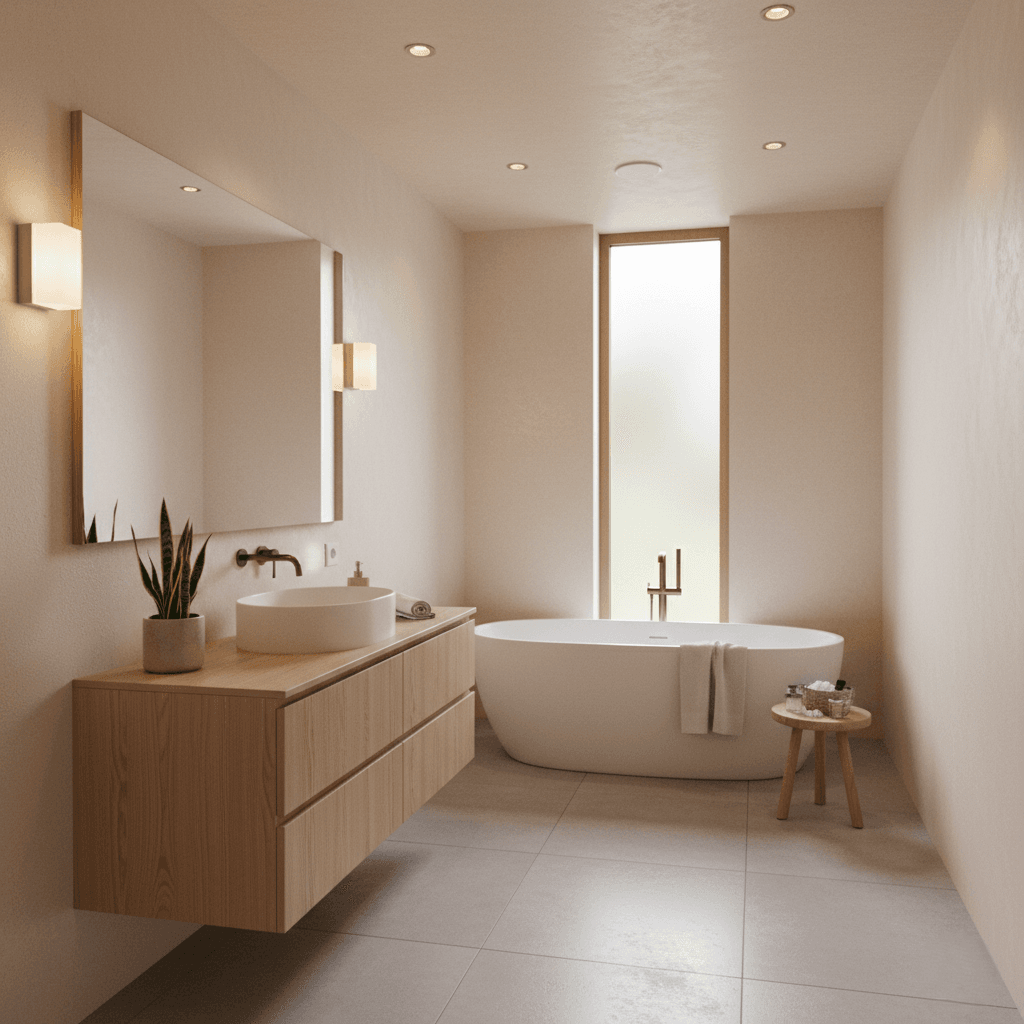

When folks talk about refreshing a bathroom, the conversation often jumps straight to tiles, fixtures, or vanity styles. But in my years of experience, I’ve found that lighting is often the unsung hero that truly makes or breaks a space, especially when you’re aiming for something as nuanced as the Japandi aesthetic. This isn’t just about functionality; it’s about crafting an atmosphere.
- Understanding the Core Principles of Japandi Bathroom Lighting
- Crafting the Signature Soft, Warm Glow in Your Japandi Bathroom
- Selecting and Integrating Natural Materials for Japandi Light Fixtures
- Mastering Layered Lighting for Functional and Serene Japandi Bathrooms
- Common Pitfalls to Sidestep in Japandi Bathroom Lighting Design
Japandi bathroom lighting demands a particular approach to illumination. It’s a beautiful fusion of Japanese minimalism and Scandinavian warmth, focused on creating serenity, emphasizing natural elements, and embracing understated elegance. Get the lighting right, and your bathroom transforms into a tranquil retreat.
Understanding the Core Principles of Japandi Bathroom Lighting
At its heart, Japandi design champions simplicity, functionality, and a deep connection to nature. For lighting, this means moving away from anything overly ornate or flashy. We’re looking for fixtures that are clean, understated, and built with purpose. Think about how light interacts with surfaces; a Japandi bathroom values soft, diffused light over harsh, direct beams. It’s about creating a sense of calm and openness, making the space feel larger and more inviting.
This philosophy extends beyond just the look of the fixtures; it dictates the type of light they cast, the materials they’re made from, and how they integrate into the overall design. On a recent project, we focused on recessed lighting with a wide beam spread to provide an even wash of ambient light, avoiding stark shadows often created by a single central fixture. This immediately set the foundational tone for the room’s serene feel, a hallmark of excellent Japandi lighting.
Crafting the Signature Soft, Warm Glow in Your Japandi Bathroom
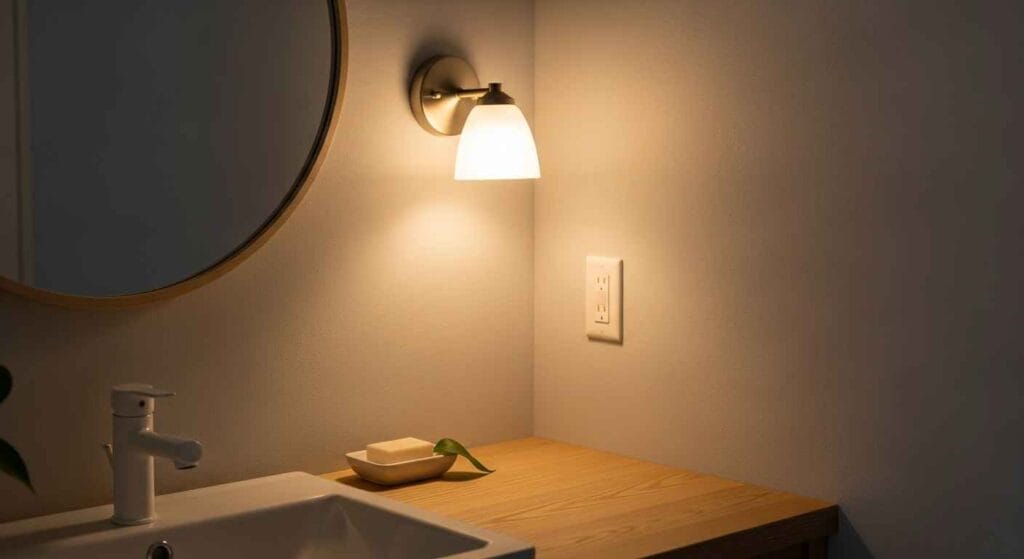
The cornerstone of effective Japandi bathroom lighting is achieving that signature soft, warm glow. This isn’t just a preference; it’s an essential component of the aesthetic. In my line of work, I always recommend sticking to light temperatures between 2700K and 3000K. Anything higher, like 4000K or 5000K, starts to feel stark and clinical, completely undermining the warmth Japandi strives for.
When selecting bulbs, look for LEDs with a high Color Rendering Index (CRI), ideally 90 or above. This ensures that the natural tones of your chosen materials—be it wood, stone, or muted fabrics—are accurately represented, not washed out.
Crucially, dimmer switches are non-negotiable. They allow you to adjust the intensity, shifting from bright, functional light for grooming to a soft, ambient glow for relaxation. I often tell homeowners that dimmers are the single most impactful upgrade for setting the mood. A mistake I often see is installing bright, undimmable vanity lights. On one project, the homeowner initially chose powerful LEDs that created an almost blinding effect.
Swapping them out for dimmable 2700K bulbs and adding a quality Lutron dimmer switch transformed the space, making it instantly more inviting and functional for various times of day. It’s about control and flexibility, truly embodying the thoughtful practicality of Japandi design.
Selecting and Integrating Natural Materials for Japandi Light Fixtures
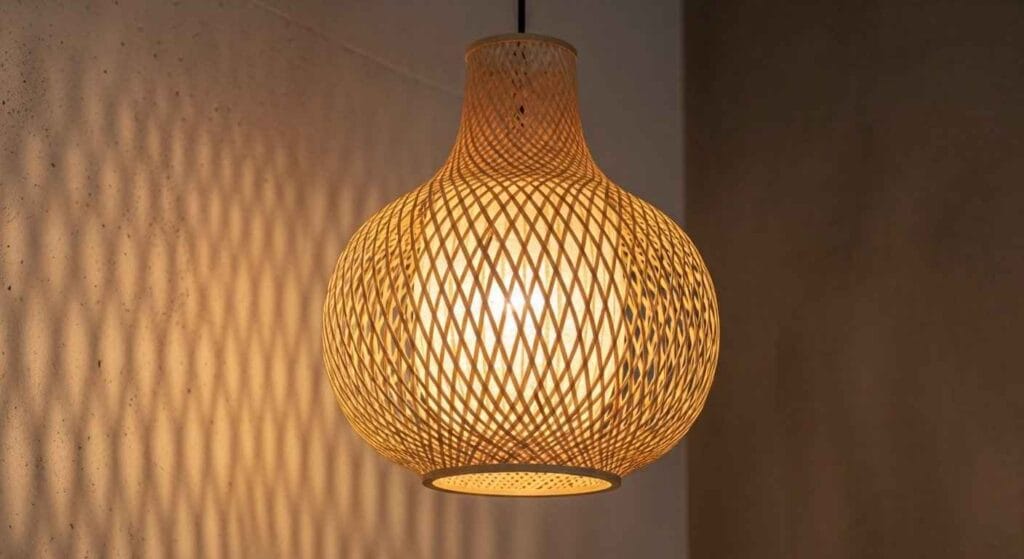
Natural materials are fundamental to Japandi design, and this holds true for lighting fixtures. We’re talking about wood, bamboo, rattan, and even artisan paper (like Washi). These materials bring an organic texture and warmth that manufactured alternatives simply can’t replicate. When choosing wood, lighter tones such as birch, ash, or a bleached oak are ideal, reflecting the minimalist aspect of Scandinavian design. Bamboo and rattan offer intricate textures that cast beautiful, subtle patterns when illuminated, adding depth without visual clutter.
However, a bathroom environment presents unique challenges due to humidity and moisture. It’s crucial that any natural material fixture you select is either inherently resistant to moisture or has been properly treated and sealed.
I’ve seen beautiful rattan fixtures warp and deteriorate within months if they weren’t rated for damp locations. Always check for a UL listing specifically for damp or wet environments. For wooden fixtures, ensure they have a marine-grade seal or a robust lacquer finish.
Some manufacturers, like those producing specialized Washi paper diffusers, use treated paper that can withstand bathroom conditions. Don’t compromise on this; a high-quality, properly rated natural material fixture will not only look stunning but will also stand the test of time, an essential aspect of true Japandi functionality.
Mastering Layered Lighting for Functional and Serene Japandi Bathrooms
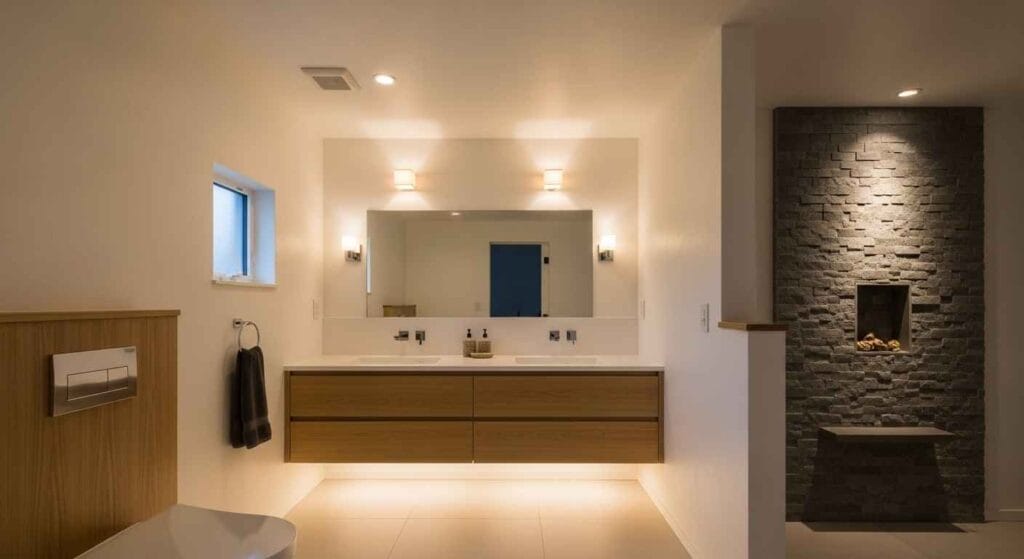
Achieving that harmonious Japandi feel requires a strategic approach to layered lighting. You can’t rely on just one type of light; a successful bathroom incorporates several layers, each serving a distinct purpose.
First, you need ambient lighting for general illumination. This is your baseline, often achieved with recessed LED downlights with wide beam angles, or a simple, flush-mount ceiling fixture that provides an even wash of light. The goal here is broad, gentle illumination, avoiding harsh shadows.
Next is task lighting, which is crucial, especially around the vanity. Sconces placed symmetrically on either side of the mirror at eye level are ideal, providing shadow-free illumination for grooming. Look for fixtures that offer diffused light, preventing glare. I always advise against a single light source directly overhead at the vanity, as it casts unflattering shadows on the face.
Then consider accent lighting. This layer highlights specific architectural features, artwork, or textures, adding visual interest. Small recessed spotlights focused on a stone wall or toe-kick lighting beneath a floating vanity can create a dramatic yet subtle effect.
Finally, decorative lighting can be incorporated, but with restraint. A single, beautifully crafted pendant light made from natural materials can act as a focal point, as long as it doesn’t overwhelm the space or interfere with task lighting. The magic happens when these layers are combined and controlled, ideally with separate dimmer switches, allowing you to tailor the light to any mood or activity. This meticulous planning is what separates a truly functional and serene Japandi bathroom from one that merely looks the part.
Common Pitfalls to Sidestep in Japandi Bathroom Lighting Design
Even with the best intentions, it’s easy to stumble when designing Japandi bathroom lighting. One of the most prevalent mistakes I encounter is ignoring the damp rating of fixtures. Bathrooms are humid environments, and non-rated fixtures (those not UL listed for damp or wet locations) are a safety hazard and will quickly deteriorate. Always double-check labels; it’s not just about aesthetics, it’s about longevity and safety.
Another common pitfall is overlighting or underlighting the space. An abundance of bright, cold lights can negate the calming Japandi vibe, making the bathroom feel clinical. Conversely, too few light sources leave dark corners and hinder functionality. The goal is balanced illumination that serves both practical needs and aesthetic desires. Poor fixture placement is another issue; a single overhead light without proper vanity lighting will always cast unflattering shadows. I always stress the importance of side-mounted vanity lights for even facial illumination.
Also, don’t fall into the trap of using mismatched light temperatures. Mixing warm white bulbs with cool white ones creates a jarring, inconsistent ambiance that destroys the serenity of Japandi. Stick to a consistent range (2700K-3000K) throughout the entire bathroom.
Finally, while natural materials are key, overdoing it with too many different decorative fixtures can lead to visual clutter. Japandi values simplicity; choose a few impactful pieces that harmonize with the overall design, rather than overwhelming it. Planning ahead can save you from costly rework later on.
From choosing the right color temperature to layering your light sources and avoiding common missteps, every decision contributes to the final, serene experience. The result is a bathroom that doesn’t just look good, but truly feels good, day after day. Transform your bathroom into a Japandi sanctuary – explore these lighting principles for your next renovation!