


Yeah, a complete guide. Right. Look, tackling a bathroom cabinet yourself looks dead simple on those weekend home shows. A little paint, a few screws, and boom, you’re a hero. That’s not how it works. I’ve been in this business since ’98, and I’ve seen it all. The good, the bad, and the vanities made out of the wrong kind of particleboard that swelled up like a week-old loaf of bread in a puddle.
Sure, I get the appeal. You save some money. You get something that fits that weird-sized nook perfectly. But having a nice saw doesn’t make you a cabinet maker. Success is about knowing what you’re up against before you start.
Someone asked me to write all this down, so here it is. This is the stuff I’d tell my brother-in-law. We’ll cover building from scratch, slapping some paint on an old one… all of it. But with a dose of reality. The main enemy is water. Always. You have to respect that, or you’re just wasting a weekend.
Building Your DIY Bathroom Cabinet From Scratch
So you want to build one from the ground up. Total control. I get it. But your number one problem is water, steam, moisture. All of it. And your choice of wood is where you win or lose. I see these plans online calling for standard MDF to save a buck.
Don’t do it.
Seriously. In a bathroom, that stuff will suck up moisture from the air and just fall apart. Doesn’t matter how good you think your paint job is. It’ll find a way in.
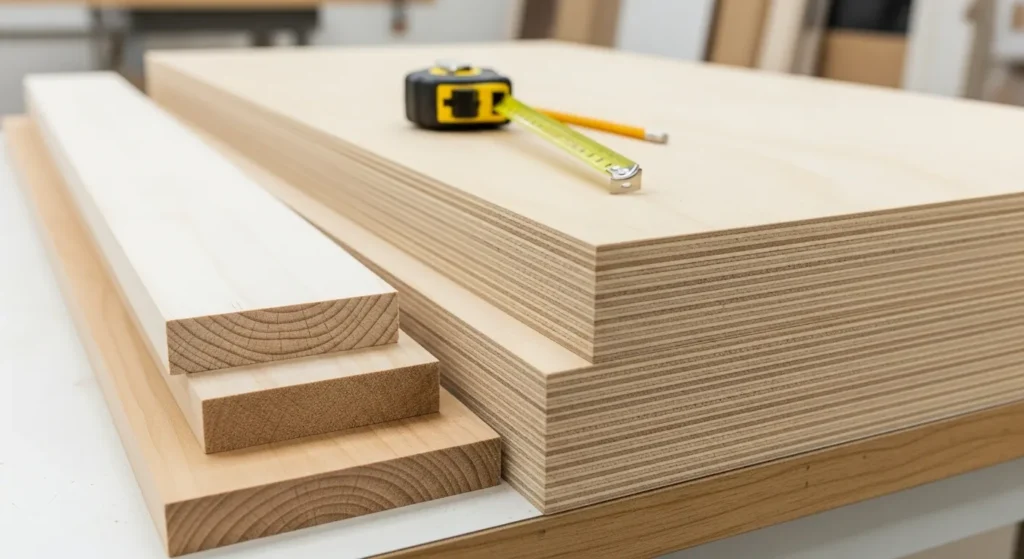
For the box—the carcass—get yourself a good quality hardwood plywood. Birch is good. Maple is good. If you can get marine-grade plywood, the stuff they build boats out of, even better. It’s made with waterproof glue. It’s stable and it holds a screw without complaining. For the doors and the frame on the front, solid poplar is a decent choice. Paints up real nice and doesn’t cost a fortune.
For putting it all together, pocket holes are your friend. A Kreg jig is cheap and lets you build a strong box without needing to be some master carpenter. But here’s the step everyone misses. Sealing. You have to seal every single piece of wood, on all six sides, before you even think about putting it together. The front, the back, the edges nobody sees. Everything. Water is sneaky. A couple coats of a good oil-based primer, then a good paint on top of that. It creates a shell. That’s what makes it last.
How to Refinish an Old Bathroom Cabinet
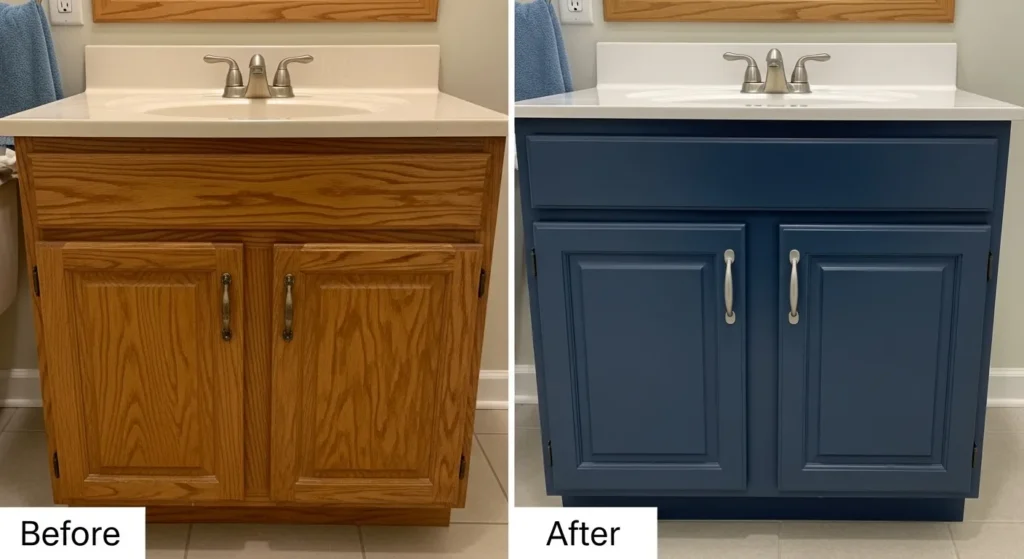
Got a solid old cabinet that’s just ugly? Painting it can change the whole room. Cheaper than a new one, for sure. But the paint job is only as good as the prep work. If you skip steps here, you’ll be looking at peeling, chipped paint in six months. A total mess.
First, take the doors off. Take all the knobs and hinges off. Then clean everything. I mean clean it. Get some TSP—trisodium phosphate—and scrub off all the years of hairspray and gunk. Then you sand. You don’t need to go down to bare wood, just scuff up the old finish so the new paint has something to grab onto. 120-grit paper is probably fine. Then vacuum up all the dust. Wipe it with a tack cloth. Get it clean.
Now the most important part. Primer. Use a real bonding primer. Don’t cheap out here. I use Zinsser B-I-N, the shellac-based one. Sticks to anything, blocks stains, and seals out moisture. It just works.
For the actual paint, don’t you dare use regular latex wall paint. It’s too soft. You need a hard enamel. Something like the urethane trim enamels from Sherwin-Williams or Benjamin Moore. That stuff cures hard as a rock and you can actually wipe it down without the paint coming off. Two thin coats. A good brush or one of those little foam rollers will do the trick.
Turning a Dresser into a DIY Bathroom Vanity
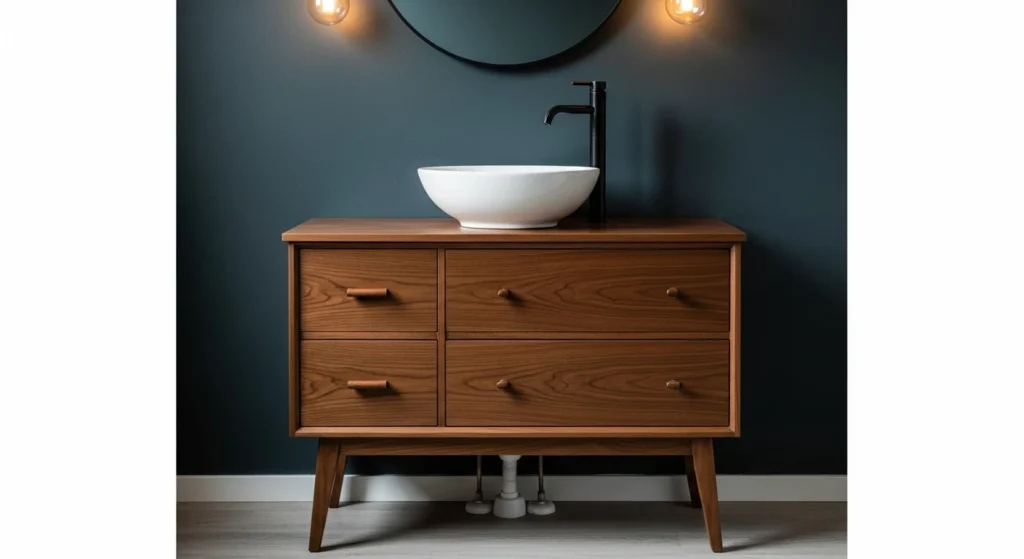
This is a popular one. Find some old dresser, cut a hole in it, and call it a vanity. I’ve installed a few for people. They can look great. But it’s more work than it looks, and you have to pick the right piece of furniture.
First question: is it solid wood? If it’s just that thin wood-grain sticker over particleboard, forget it. The first time water gets in a seam it’s ruined. It also has to be sturdy. A stone top and a sink full of water is heavy. Really heavy. You might have to get in there and add some corner braces or something. And check the height. Vanities are usually around 32 to 36 inches tall with the top on. You don’t want to be bending over to wash your hands.
Then the real work starts. You gotta cut holes. A big one for the sink, a smaller one for the faucet. Then you gotta cut a big hole in the back for the drain and the water lines. This usually means you have to chop up the top drawer or two to make room for the plumbing P-trap. It can get complicated.
And again, you have to seal the whole thing against moisture. I’d put a few coats of marine-grade polyurethane on everything. Especially the top edge where you cut the hole and inside the cabinet. You’re turning a piece of bedroom furniture into something that has to survive a swamp. So you have to treat it like a boat.
Installing a DIY Floating Bathroom Cabinet
Floating vanities look cool. Modern. Make a small bathroom feel bigger. But from my end, it’s all about what’s behind the wall. That cabinet, plus everything you put in it, is heavy. And it’s all trying to rip itself right out of the wall.
Drywall anchors will not work.
I’m going to say that again. You cannot hang a vanity on drywall alone. It’s a disaster waiting to happen. The call you make to a guy like me to fix it will cost way more than doing it right the first time.
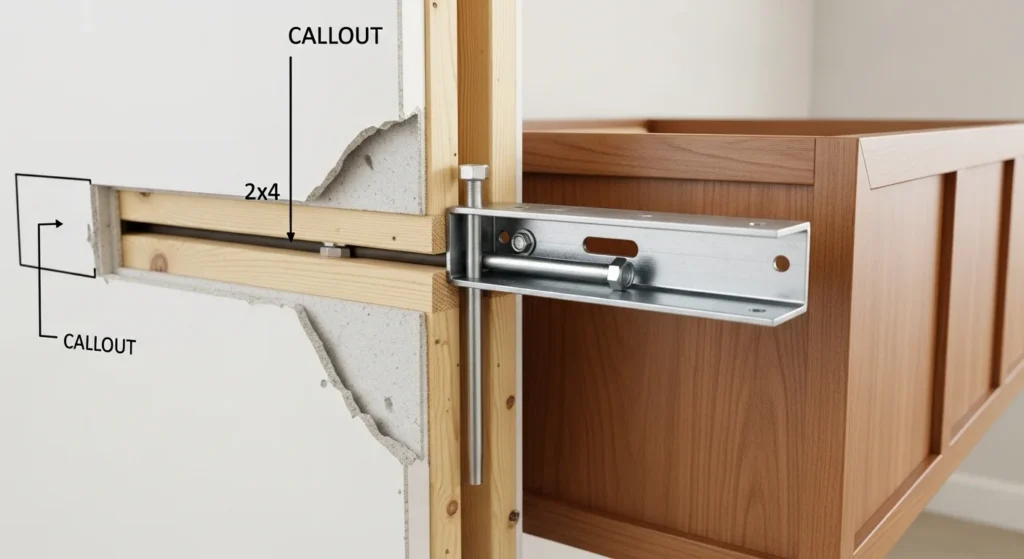
You must bolt it to the studs. The wood framing inside the wall. Get a good stud finder and find them. You need to use heavy-duty lag bolts that go at least an inch and a half into solid wood. The whole process has to be exact. Figure out your height, draw a perfectly level line on the wall, find your studs.
Sometimes, if the studs aren’t in the right spot for the cabinet, I’ll put up a ledger board first. It’s just a 2×4 screwed horizontally into all the studs. It gives you a solid strip of wood to mount to, and it helps hold the weight.
Use a level. Check it constantly. A floating vanity that’s even a little bit crooked looks terrible. It’s one of those jobs where you measure three times and you’re still nervous when you drill the hole. Be paranoid. It pays off.
Budget-Friendly Bathroom Storage Ideas
Sometimes you just need a place to put your towels, you don’t need a whole renovation. A DIY bathroom cabinet doesn’t have to be the main event.
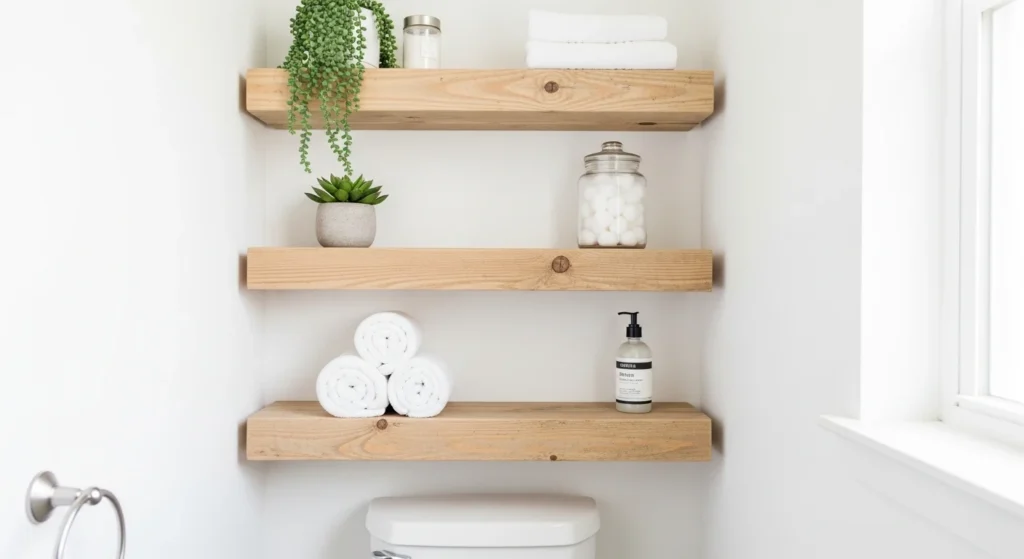
Simple open shelves are a weekend job. Get some reclaimed wood for that rustic look everyone seems to want, or just some pine boards you can paint. Just make sure the brackets are in studs. Or, if it’s just for light stuff, use some decent drywall anchors. Don’t store your bowling ball collection up there.
I’ve also built plenty of simple little cabinets to go over the toilet. It’s just wasted space otherwise. It’s really just a small plywood box with a couple of doors. A good way to try out building a cabinet before you try to build a big one.
You can also find those tall, skinny, unfinished pantry cabinets at the big box stores. Paint it, put some nice handles on it, and stick it in a corner. The whole point is to look up. Use the vertical space.
Your Next Steps
Alright, so that’s the rundown. I’ve told you what I know. The keys are pretty simple: plan it out, use the right materials for a wet room, and don’t get lazy with the prep work.
If you do it right, it’s satisfying. Adds some value. So, pick your poison—build, refinish, whatever. Just think it through.